Single Sign-On (SSO) is a mechanism that allows a user to perform a single authentication valid for access to multiple computing resources.
From Livebase’s perspective, a developer can enable their Cloudlets for access via SSO so that a given set of credentials can be used to access both those Cloudlets and other external services. At present, this is achievable through interoperability with an Identity and Access Management (IAM) system called Keycloak.
Fundamental concepts #
Keycloak is based on two fundamental concepts: the realm and the client. A realm is an isolated group of users and their associated credentials, and manages the authentication processes. A client, on the other hand, is an entity that delegates to Keycloak the process of authenticating its users. In the case of Livebase, Cloudlets can be registered as clients with a certain realm to manage access for its users.
Prerequisites #
Livebase is currently compatible up with Keycloak version 12.0.4, which must be deployed on a server that is visible to Cloudlets in your account. At this URL, you will find a guide to setting one up.
Integrating Keycloak with Livebase #
To properly integrate Keycloak with Livebase, you’ll need to perform these four steps:
- configure the realm of interest;
- define within the realm the Cloudlet Livebase users that will be enabled to access via SSO. A Cloudlet user is automatically integrated with Keycloak if it is defined within it with the same username;
- define a client for each Cloudlet that has to be made accessible via SSO;
- export the configurations defined in the previous point and import them into the respective Cloudlets through the Dashboard.
Configuration of the realm #
Connect to the Admin Console of your Keycloak: at the URL <keycloakURL>/auth/admin you will find the following screen.
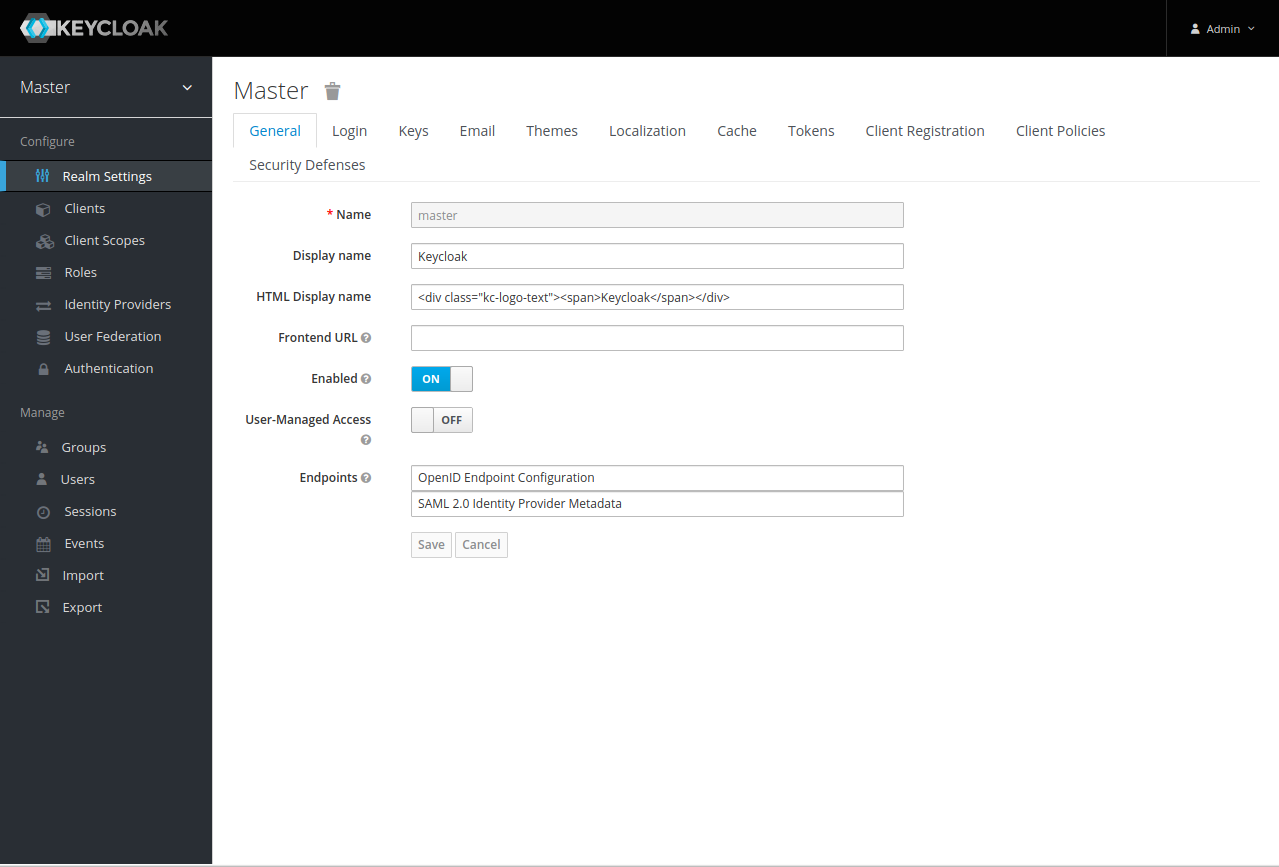
The screen shows the information of one of the realm that have been defined within the Keycloak server. To choose the realm of interest, hover over the drop-down menu next to the name of the current one to bring up a list of available ones, then click on one of them. Alternatively, you can create a new one by clicking the Add Realm button, which will bring up this screen.
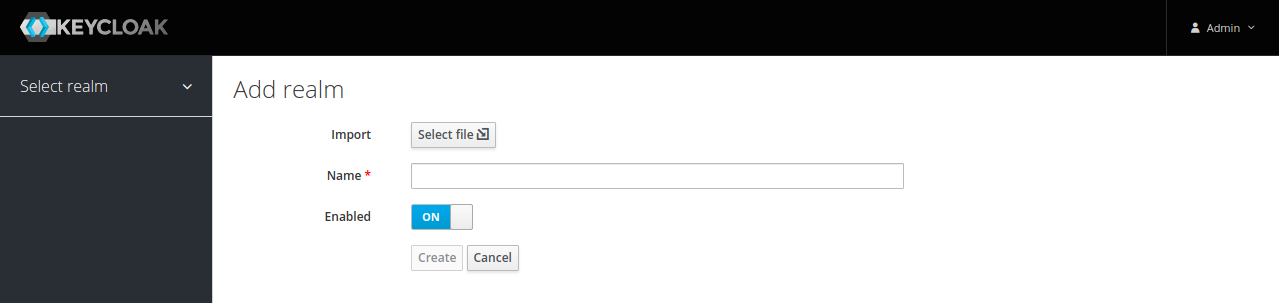
Enter a name for the new realm and confirm by clicking Create: it will be automatically selected.
Defining a user #
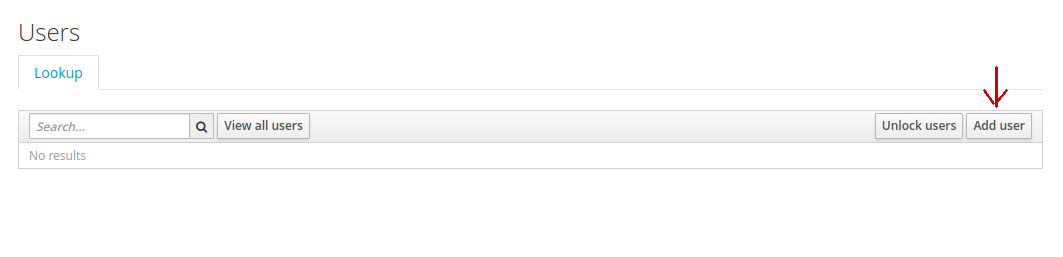
Select the Users item from the side menu to bring up a list of all users managed by the realm. Then click on the Add User button in the upper right corner.
In the next screen, enter in the field of the same name the username of a user registered with one of the Cloudlets that you have defined in Livebase: this step is a necessary and sufficient condition to allow Keycloak to manage its authentication instead of Livebase.
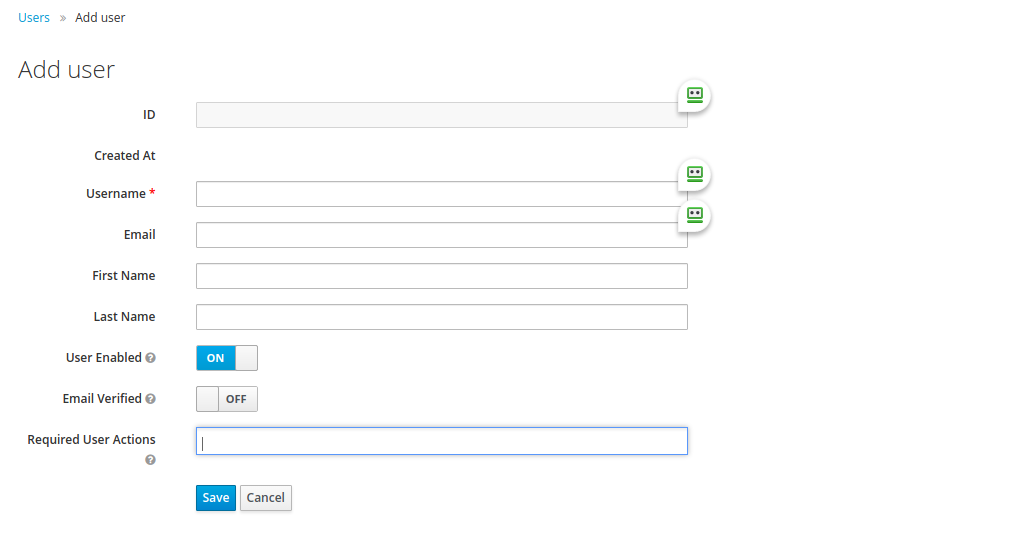
You can also define one or more actions to be performed by the user at the first login by filling in the Required User Actions field:
Configure OTPrequires the user to configure a service that will send OTP (One Time Password) at each subsequent login in order to achieve two-factor authentication;- Update Password requires the user to define a new password;
- Update Profile requires the user to update their profile information;
Verify Emailrequires the user to verify their email through a link that will be sent at it. TheEmailfield will need to be specified in the latter case.
Confirm the creation of the new user by clicking Save: you will now see the details screen of the newly created user.
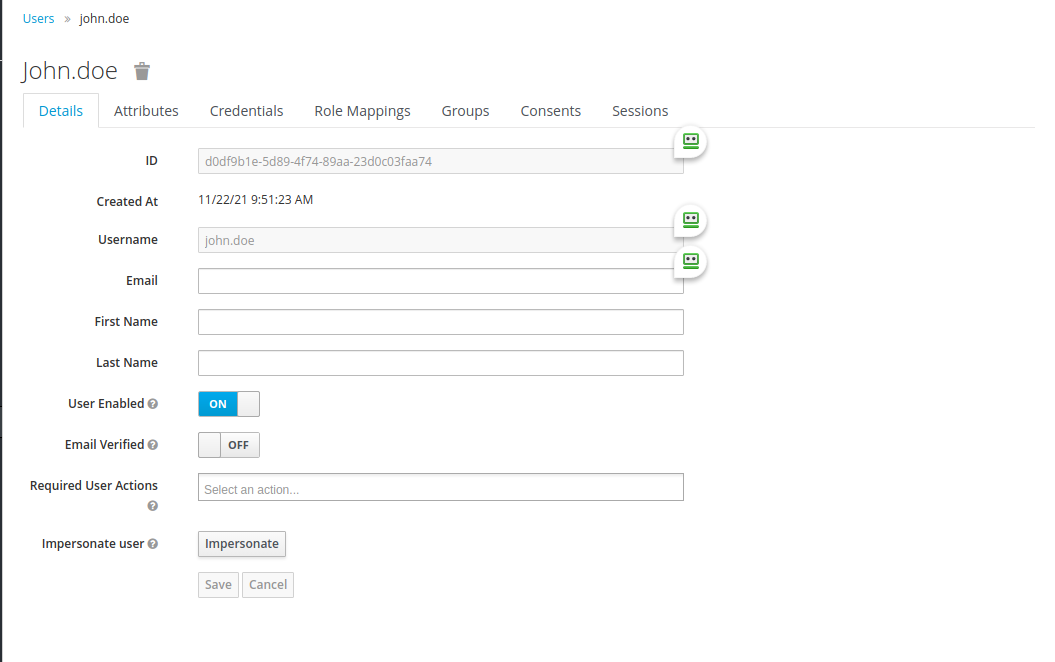
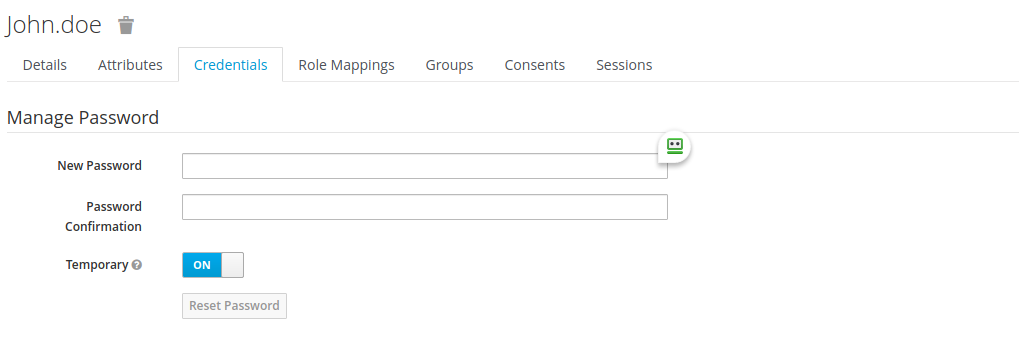
Click on the Credentials tab and define a password that the user will use to log in via Keycloak; type it again in the field below to confirm. Finally, if you would like the user to set a new password at their next login, set the Temporary field to ON, and confirm by clicking the Reset password button.
Client definition #
Select the Clients item from the side menu to bring up the list of all clients currently present in the realm. Then click on the Create button in the upper right corner.

Assign an id to the new client and click Save. You will now see a screen that will allow you to configure its parameters.
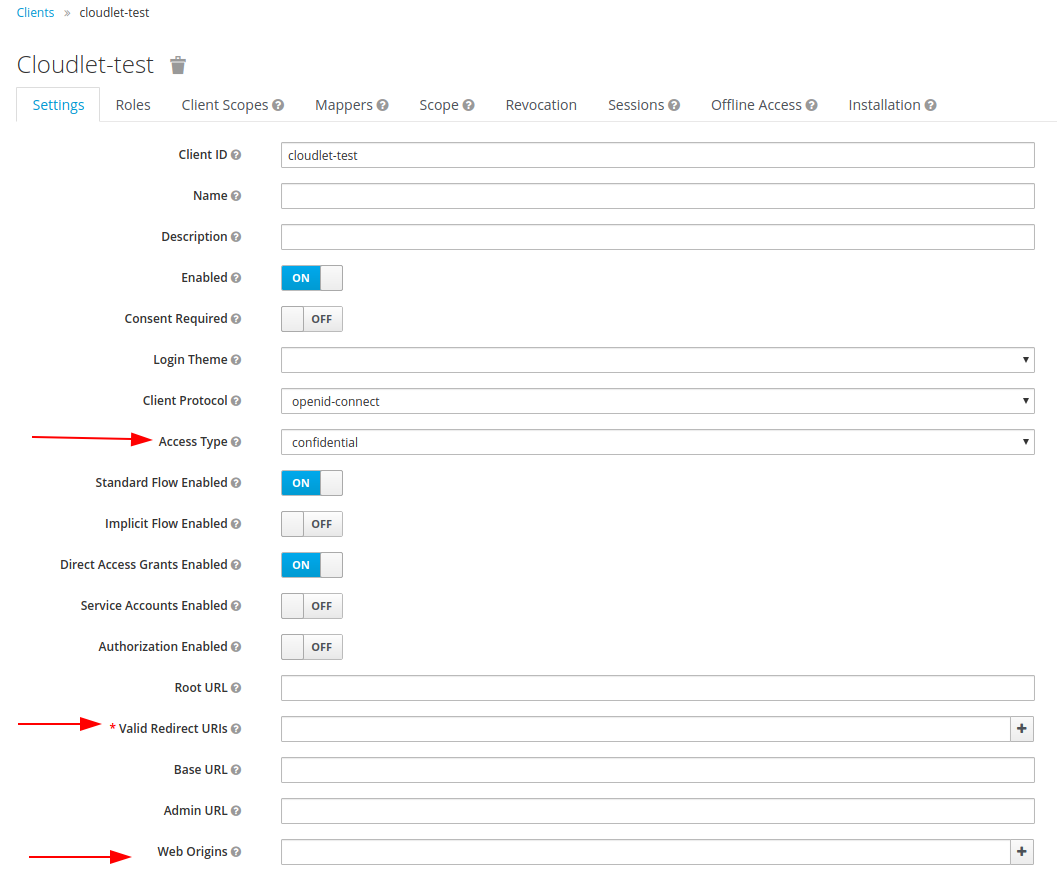
In order to correctly connect the cloudlet to the Keycloak SSO mechanism, you have to perform the following operations:
- set the
Access Typefield toconfidential; - fill in the
Valid Redirect URIsfield with the pattern that will specify all Cloudlet URIs to be allowed access via SSO. To allow access to all, use the patternshttps://<baseCloudletUrl>/*andhttp://<baseCloudletUrl>/*; - set the
Client Protocolfield toopenid-connect; - fill in the
Web Originsfield with the pattern that will specify all the origins to which the CORS mechanism must allow access to Cloudlet resources. To authorize all origins, specify the*pattern.
Once all the configurations are done, you’ll need to generate a JSON file to apply them to the Cloudlet: to do this, select the Installation tab and click Download, after selecting the Keycloak OIDC JSON value from the Format Option dropdown.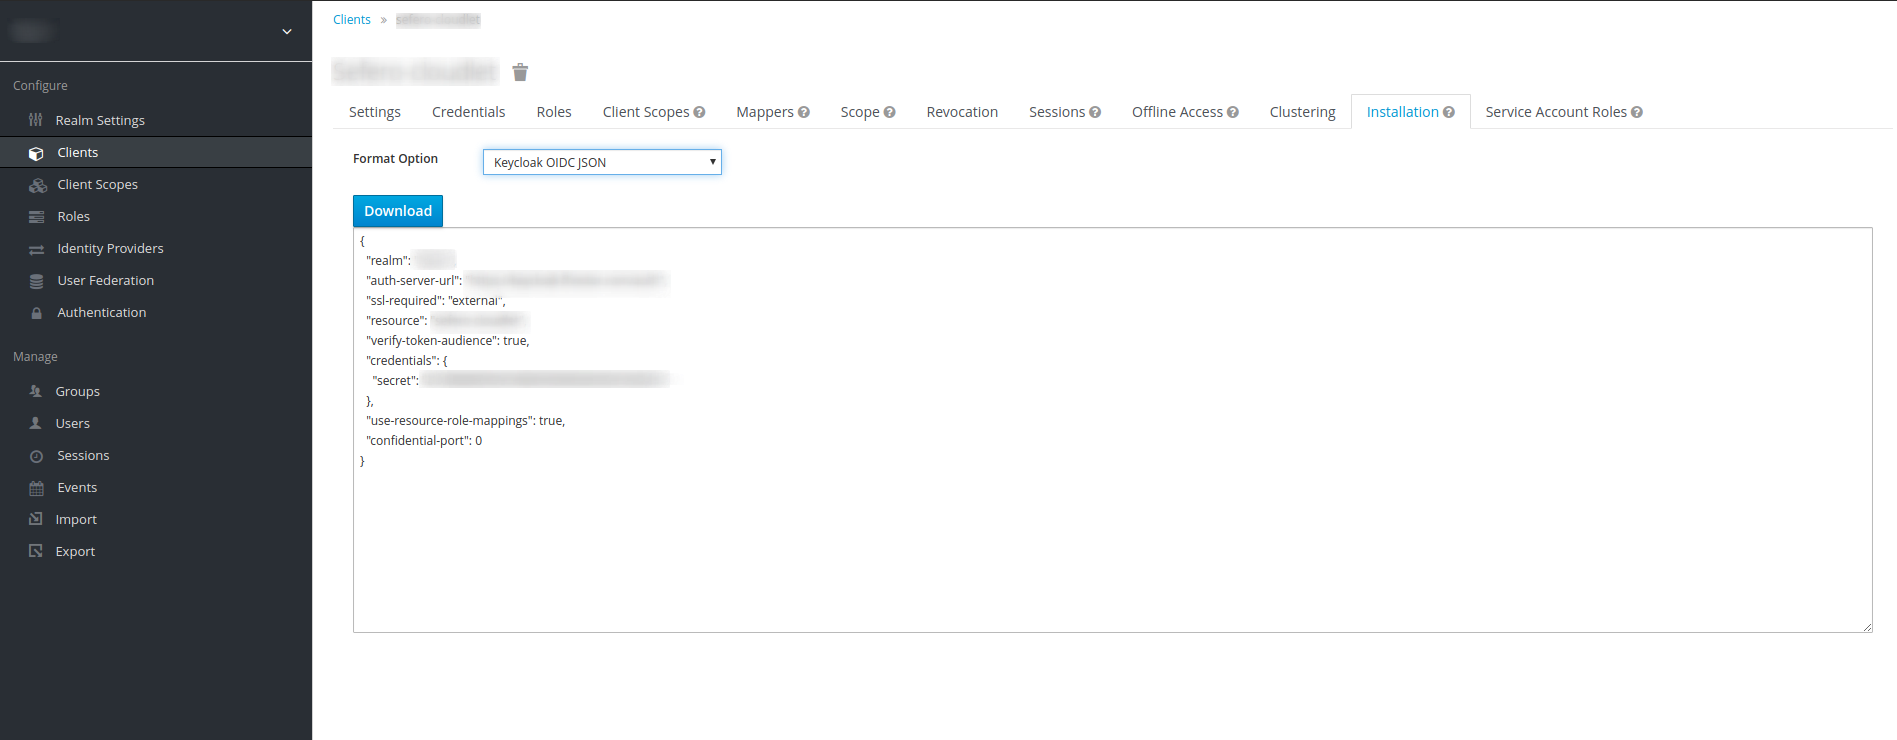
Dashboard Side Configuration #
Log in to the Dashboard, open the Cloudlet context menu and select Configure.... Then go to the Authentication tab. There, select the Single Sign On tab.
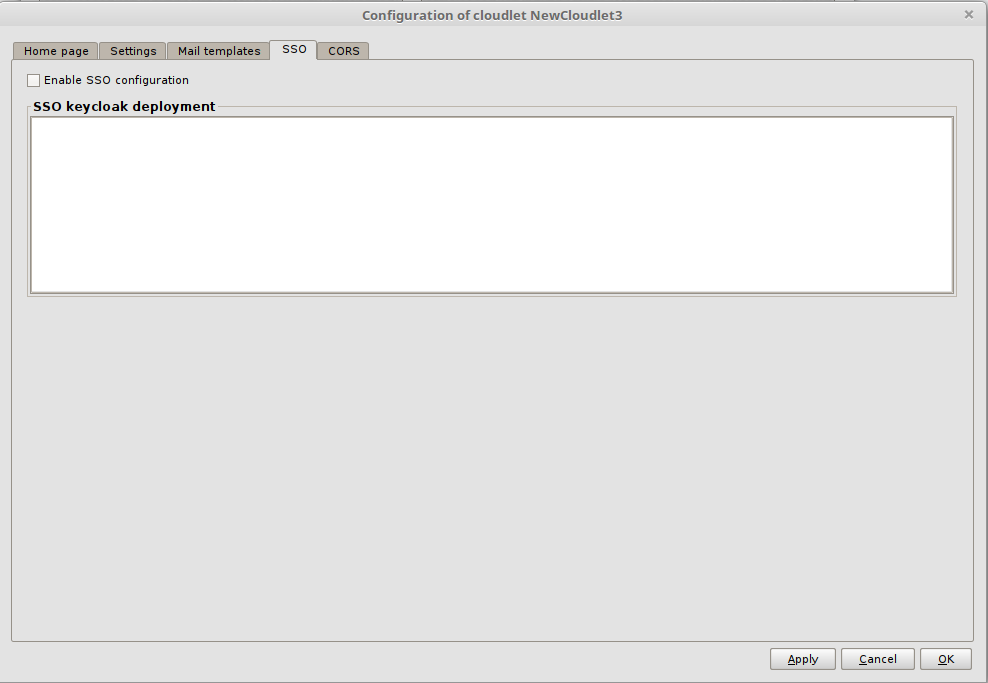
Check the Enable SSO Configuration flag and copy the JSON generated in the previous paragraph into the SSO Keycloak Deployment text field. It has the following fields:
realm: indicates the name of the referenced realm;auth-server-url: indicates the URL of the Keycloak Authentication Server;ssl-required: specifies for which requests directed to the Authentication Server is necessary to communicate via SSL (Secure Socket Layer) or through the HTTPS protocol. The default value isexternal, which forces the use of SSL for all external requests;resource: indicates the name of the client that represents the Cloudlet within Keycloak;credentials: lists the credentials for accessing the application;confidential-port: indicates the port used by the Authentication Server to communicate through SSL.
Before you can actually use the JSON, you must manually add the following three fields:
autodetect-bearer-onlyset totrue. This way, should the authentication process fail, the Cloudlet will respond with a redirect to the SSO server if a client queried it, and with anUnauthorizedresponse if it was queried by a web server;enable-corsset totrue. This will enable preflight requests for the CORS mechanism;cors-allowed-methods: a pattern that clarifies which HTTP methods are allowed, indicating the*pattern means all of them.
At the end of all these steps, you will have a JSON with this structure:
{
  "realm": "<realmName>",
  "auth-server-url": "https://<keycloakURL>/auth",
  "ssl-required": "external",
  "resource": "<clientName>",
  "credentials": {
    "secret": "..."
  },
  "confidential-port": 0,
  "autodetect-bearer-only": true,
  "enable-cors": true,
  "cors-allowed-methods": "*"
}
Confirm the import of the Keycloak configuration by clicking OK.
Test the configuration #
Launch the Cloudlet, and access its homepage by clicking on its URL. As shown in the following image, in the top right corner, you’ll notice the lack of the usual login form and the presence of just the button:

Clicking on the button, you will be redirected to the Keycloak login page:
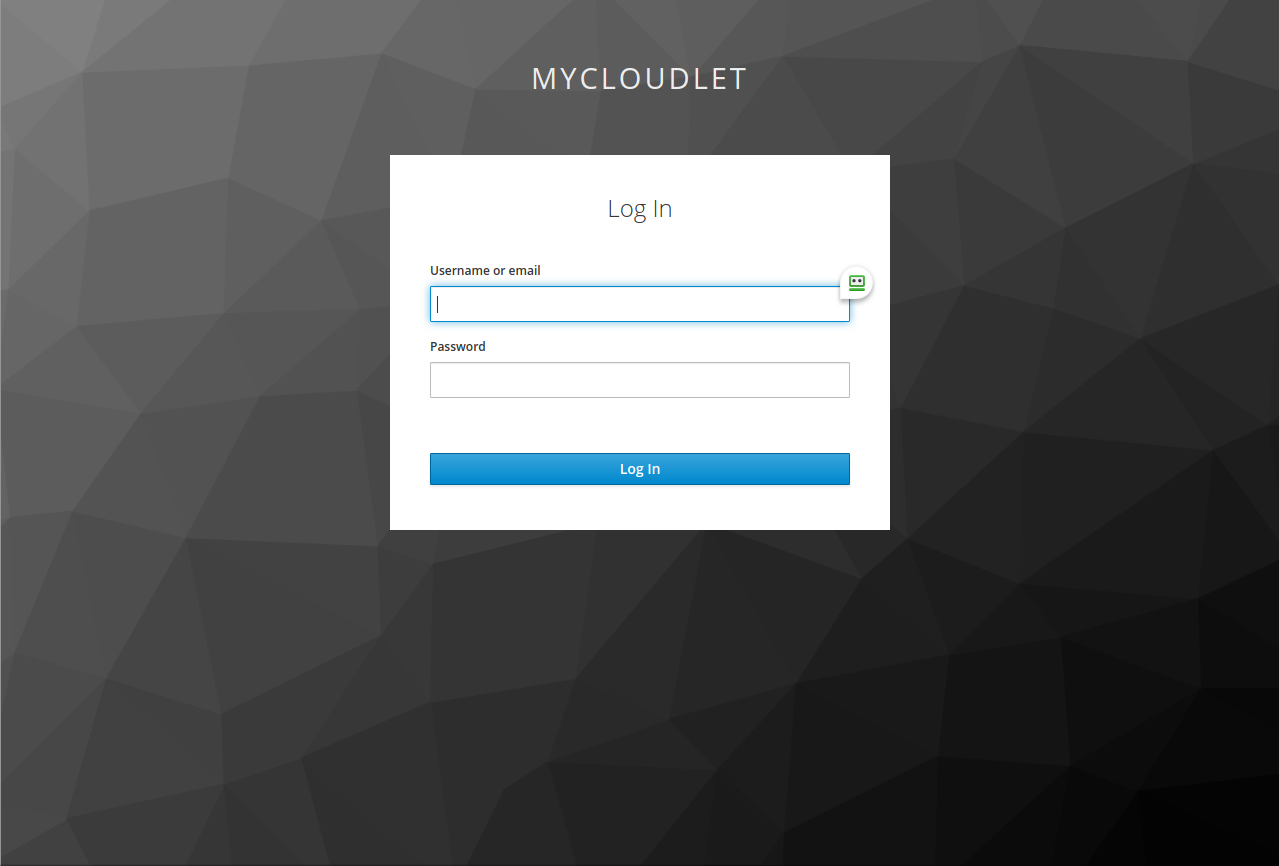
Enter the username and password of the Cloudlet user you previously associated with Keycloak (remember that the password is the one defined in Keycloak), then click on the Log In button. If the configuration was done correctly, you will be redirected to the Cloudlet home page.