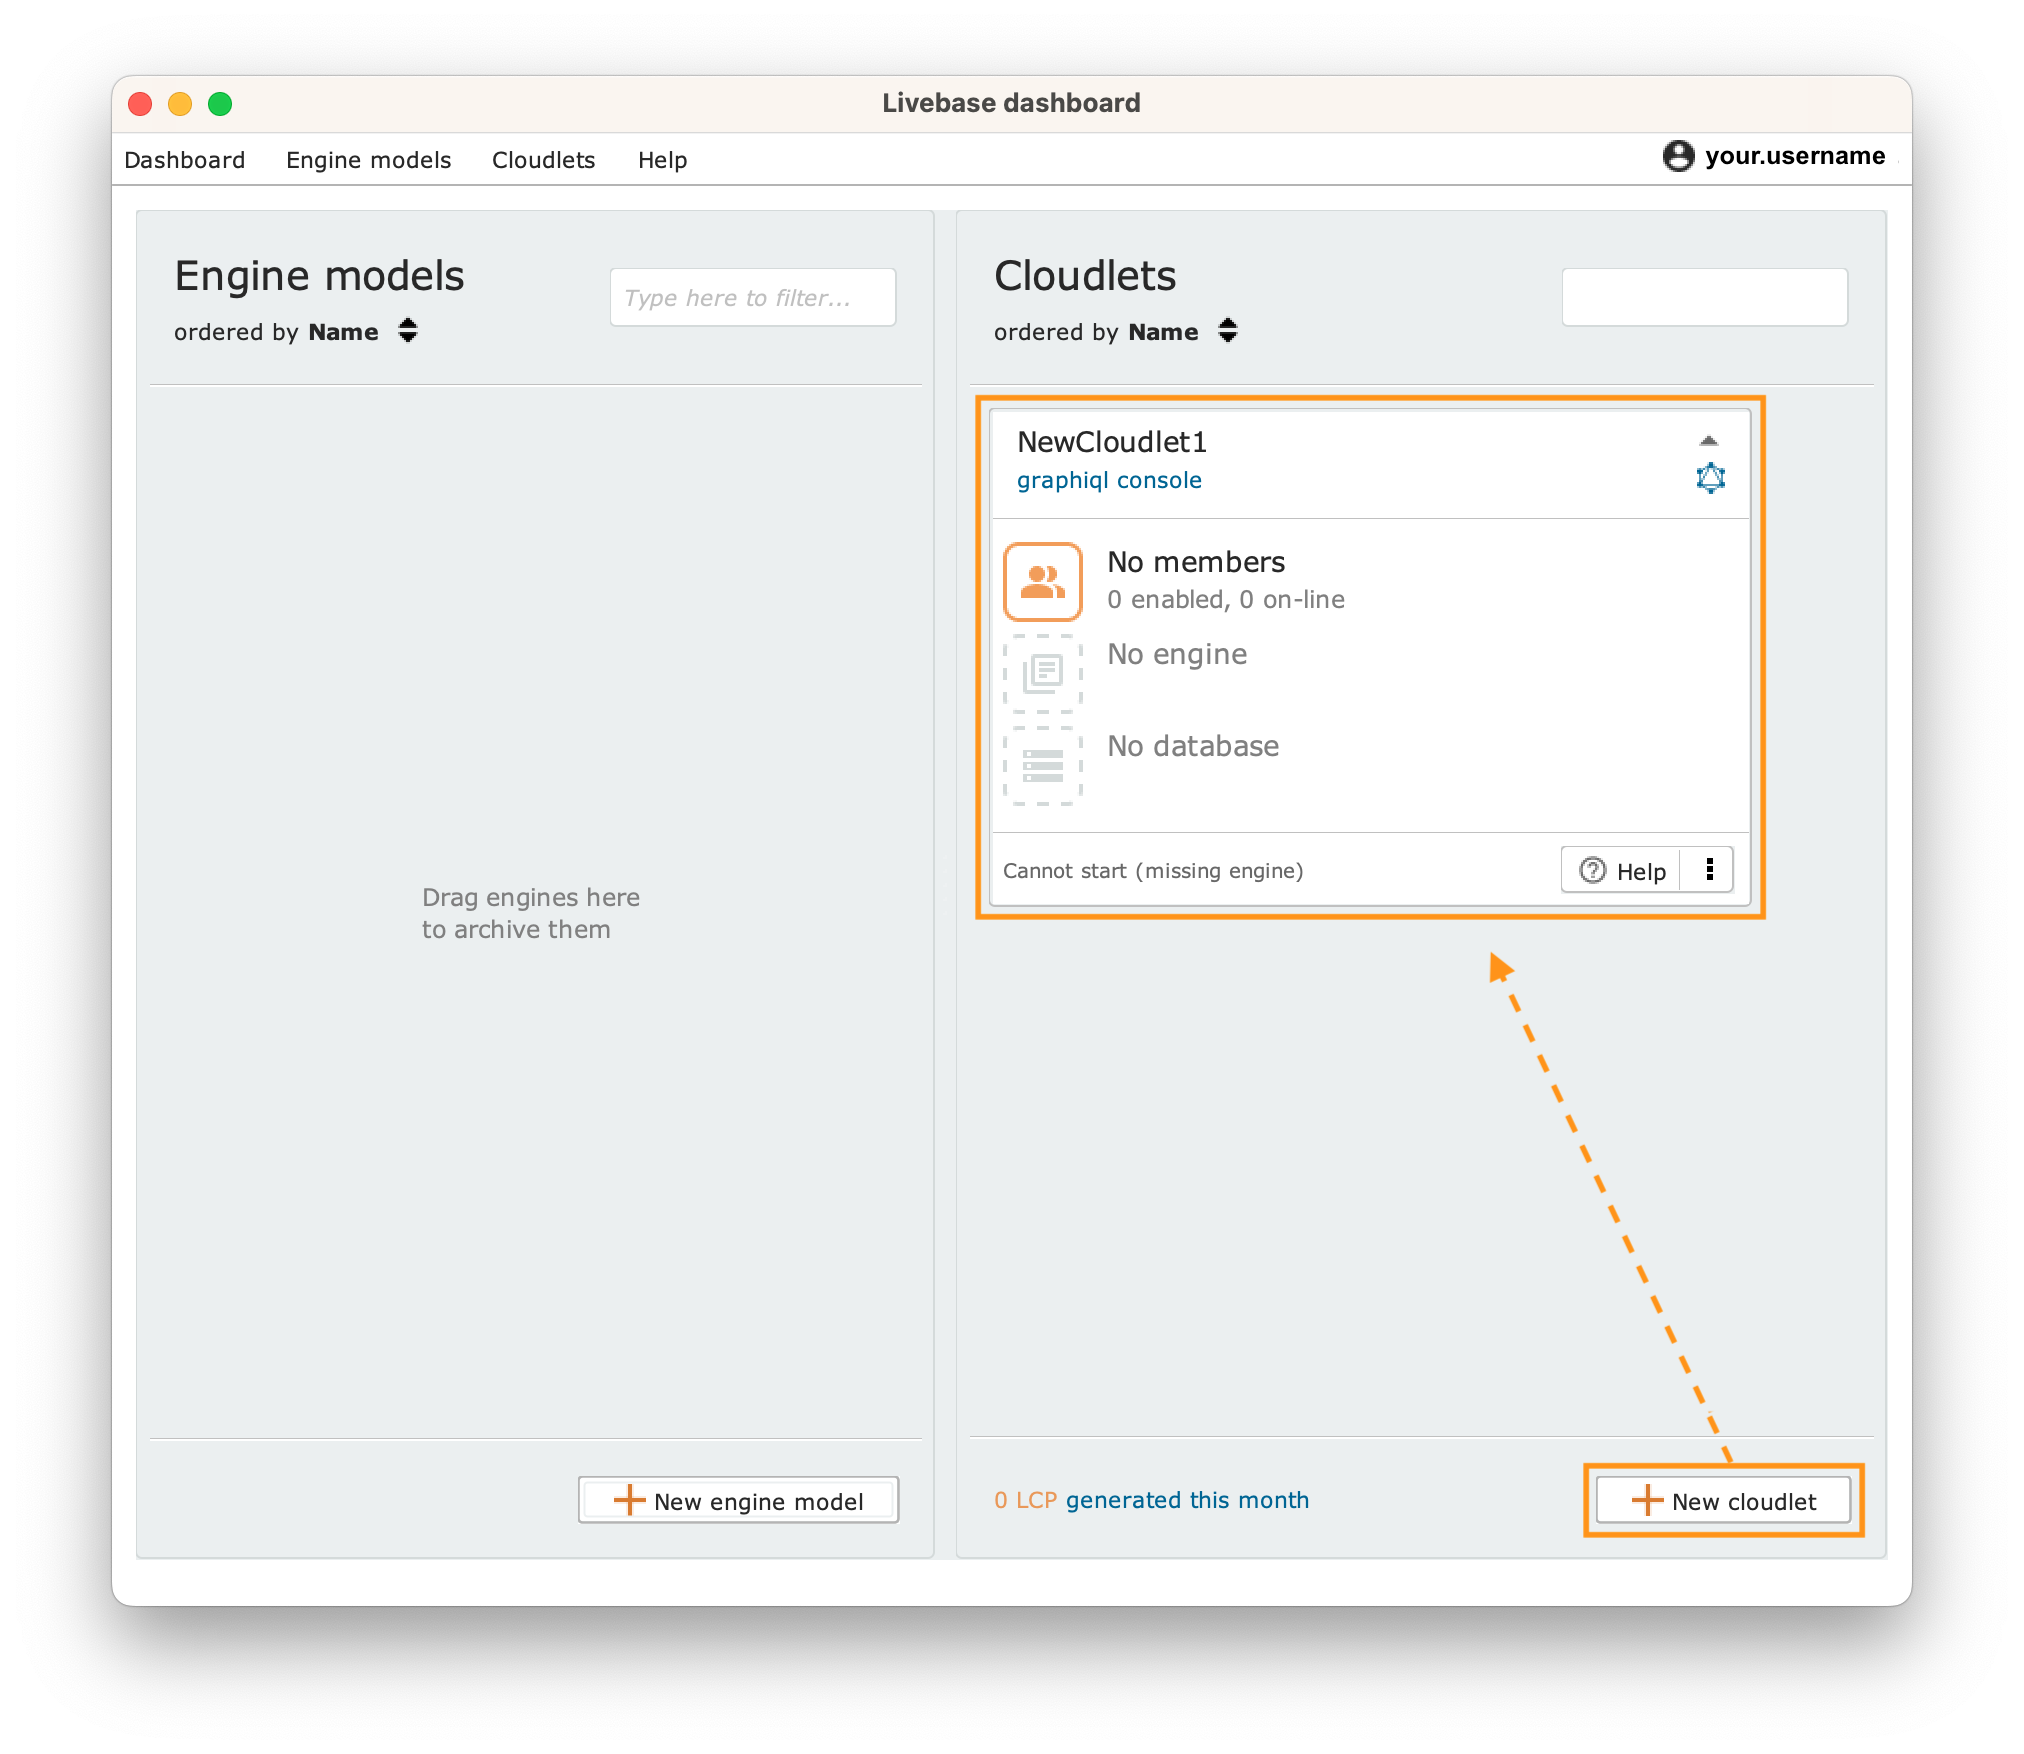
Create a Cloudlet #
To create a Cloudlet, click on the + New cloudlet button at the bottom right of the Cloudlets tab. The creation process will take a few minutes. Once it is complete, the panel will appear in the Cloudlets section of the Dashboard, which allows you to manage the Cloudlet you just created.
Start a Cloudlet. #
The first startup of a Cloudlet initializes the generation of GraphQL APIs from the engine installed on the Cloudlet, which are then deployed to the server that has been configured. The regeneration of the Cloudlet code occurs whenever the platform detects any changes on the engine. If there are no changes, the startup is a simple logical operation.
From the Dashboard, click the Start button on the Cloudlet panel.
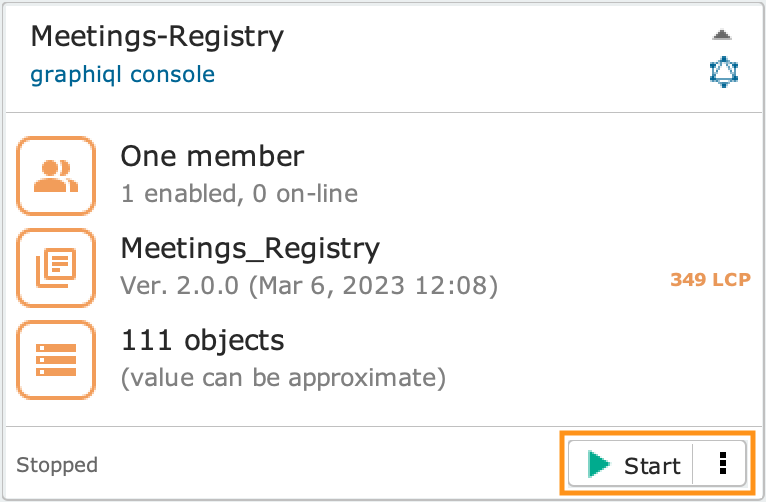
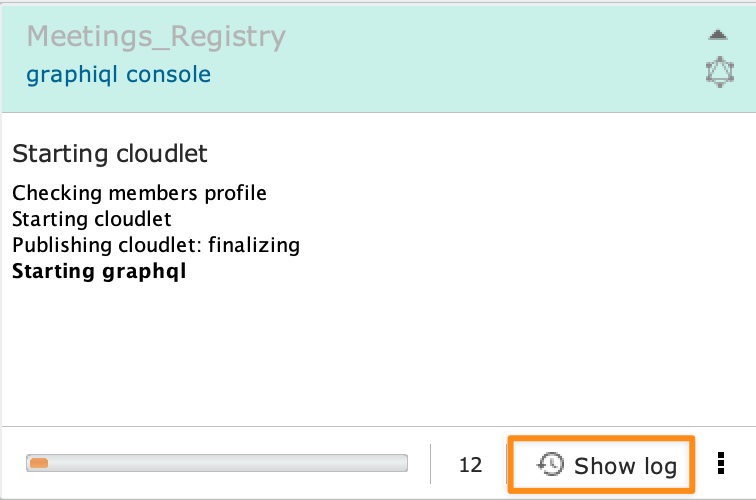
Wait a few minutes while the Cloudlet is generated and deployed. During the operation, the Cloudlet panel will show a log of the operations performed during the process. To view the full operations log, see the section on the Show Log command.

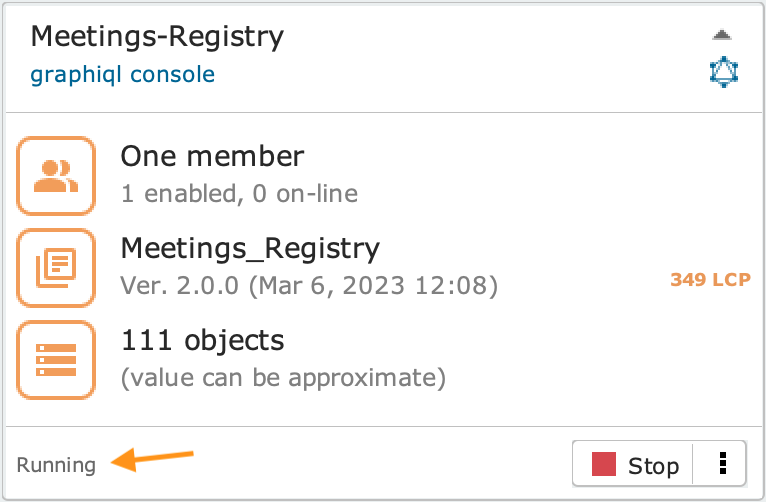
Once the build/deploy process is completed, the Cloudlet will be in the Running state, as highlighted in the status line in the lower left corner of the panel.
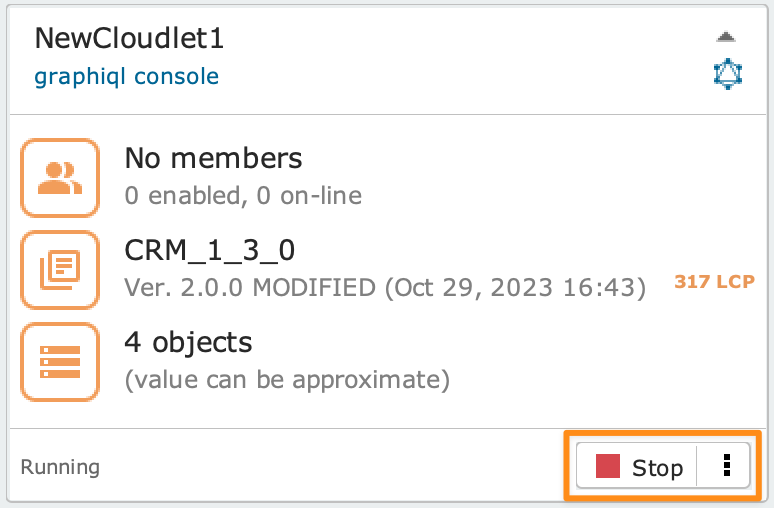
Stop a Cloudlet #
From the Dashboard, click the Stop button on the Cloudlet panel. This action can only be done if the status of the Cloudlet is Running.
Rename a Cloudlet #
Make sure you have stopped the Cloudlet and double-click on the name given in the header of its panel. Alternatively, click on the menu icon and select the Rename option.
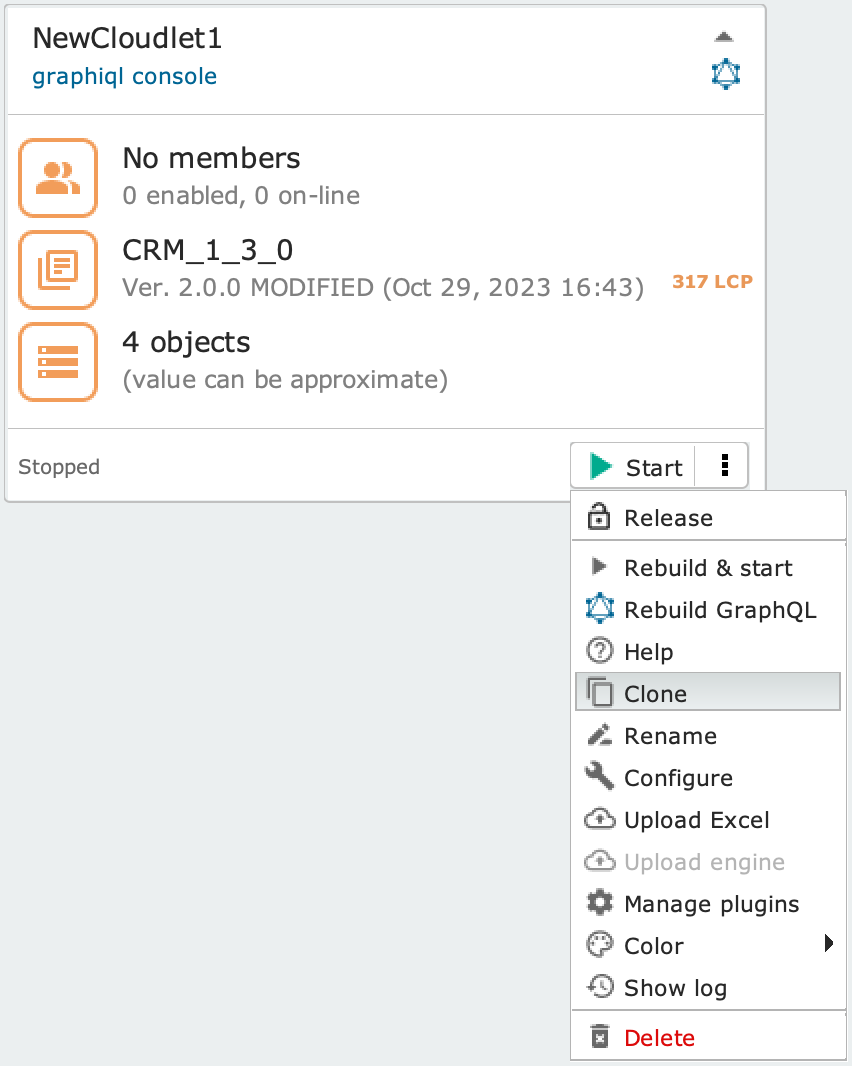
Clone a Cloudlet #
This command allows you to create a duplicate Cloudlet, with identical community, engine and database. The name of the Cloudlet thus created (and consequently its URL) will be different since each Cloudlet must have a unique name. By default the name assigned by Livebase is [name of Cloudlet]_ Clone.
Make sure you have stopped the Cloudlet and click on the menu icon , then select the Clone option.
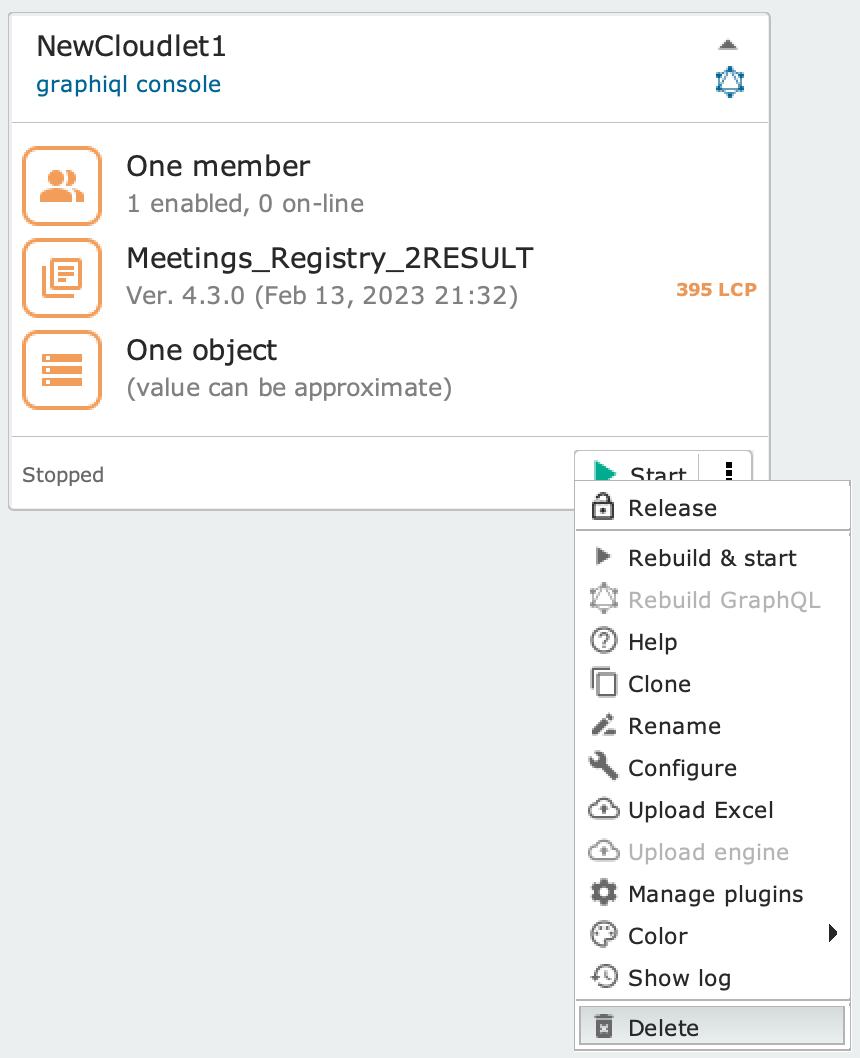
Delete a Cloudlet #
Make sure you have stopped the Cloudlet (and archived its engine, if necessary). In the Cloudlets section of the Dashboard, click on the in the lower right corner of the Cloudlet panel and choose the Delete option written in red. Having done so, a dialog box will appear asking you to confirm the deletion of the Cloudlet.
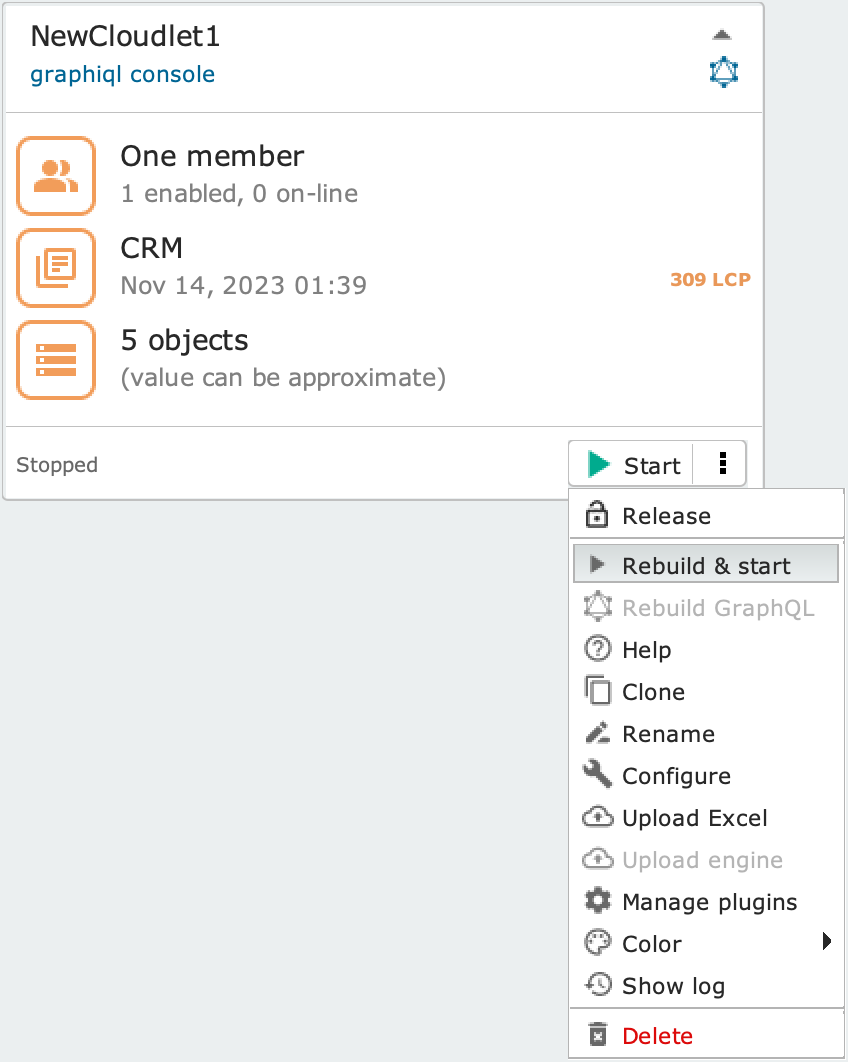
Regenerate a Cloudlet #
If the Cloudlet was generated and no changes were made while it was in the Stopped state, Livebase avoids regenerating the entire application stack to save the user time. Should you still want to regenerate the Cloudlet, however, you can still force the rebuild.
Click on the menu icon and select the Rebuild & start option.
Change the panel color of a Cloudlet #
You can change the color of the Cloudlet panel header to keep applications neat within the Dashboard. By default, all Cloudlets are created with a white header color.
In the Cloudlets section of the Dashboard, click on the in the lower right corner of the Cloudlet panel and choose the Color option. The five colors currently available are white, blue, green, yellow and red.
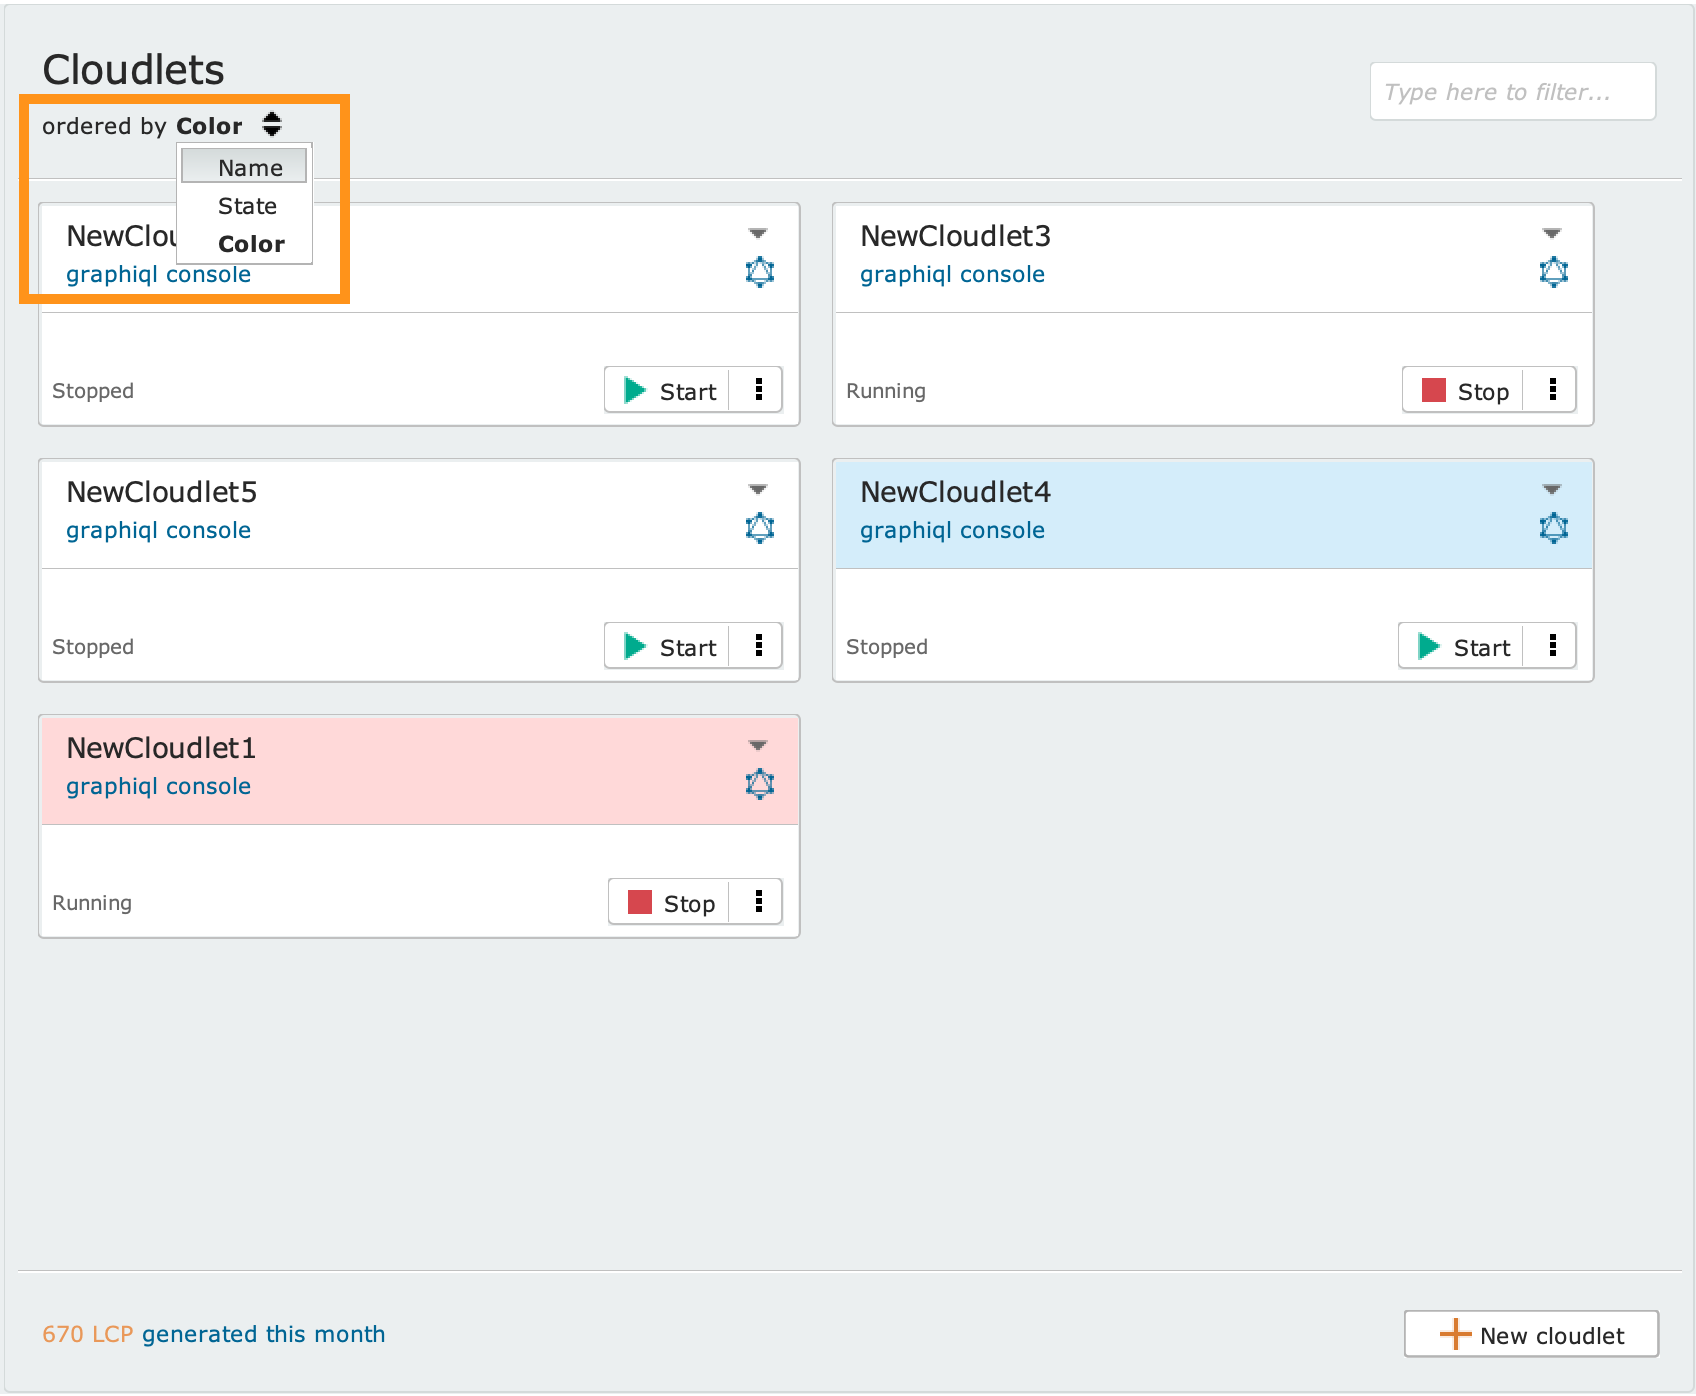
Sort the Cloudlet Panels in the Dashboard #
Livebase offers a number of features to keep the Dashboard orderly and easily navigable (particularly when working with a large number of Cloudlets).
You can sort Cloudlet panels by name, status and color. To do this, click on the under the title of the Cloudlets section, next to the words “ordered by,” and select one of the three available options.
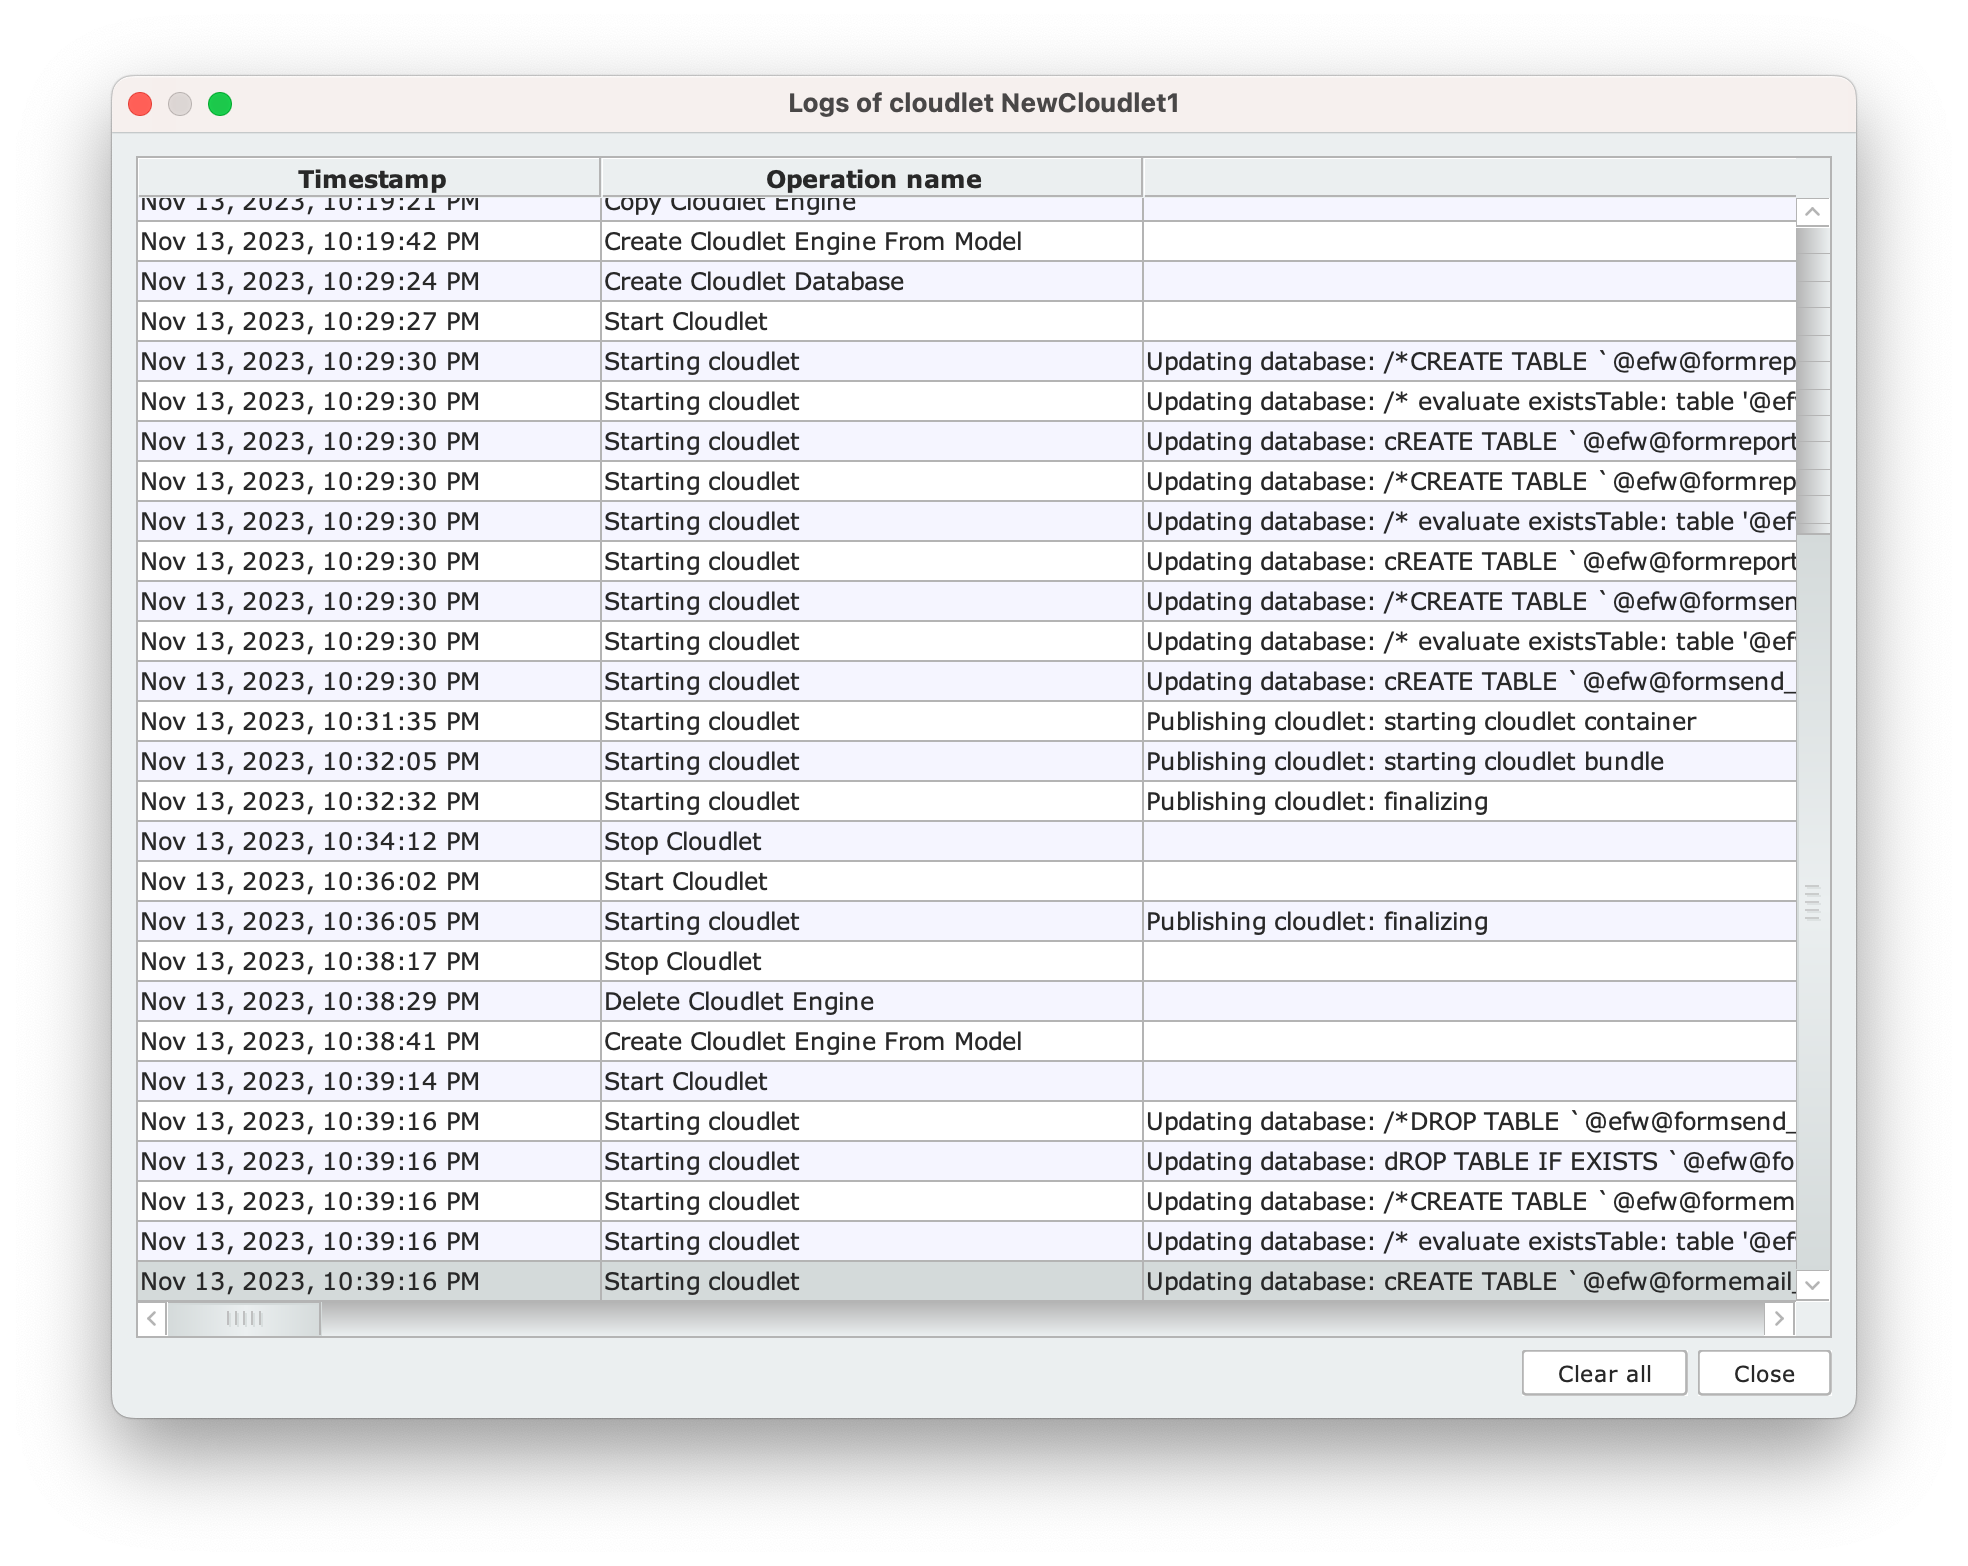
Show log of operations #
In the Cloudlets section of the Dashboard, click on the icon in the lower right corner of the Cloudlet panel and choose the Show Log option.
The log shows the operations performed on the Cloudlet in the current session by the user currently logged into the Dashboard. The operations are shown in tabular format in chronological order in the Logs of cloudlet [name of Cloudlet] panel, with the name of the operations and their timestamps. You can also expand the panel to get more details about the operations performed (as shown in the image).
The real-time operation log can also be viewed during Cloudlet generation and shutdown, during which the Start and Stop button temporarily changes to the Show log button.
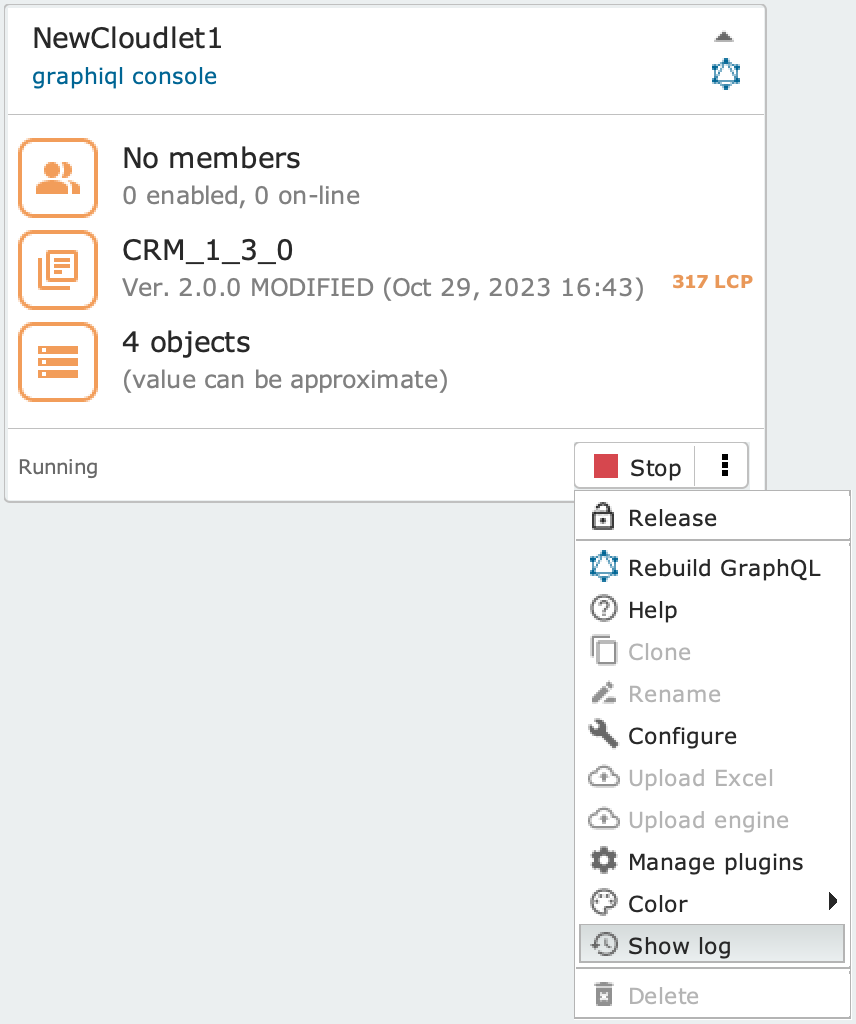
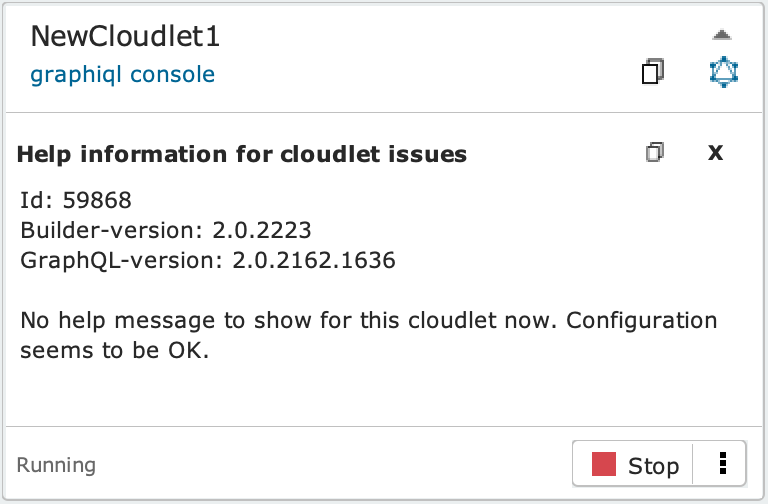
Get the Cloudlet ID #
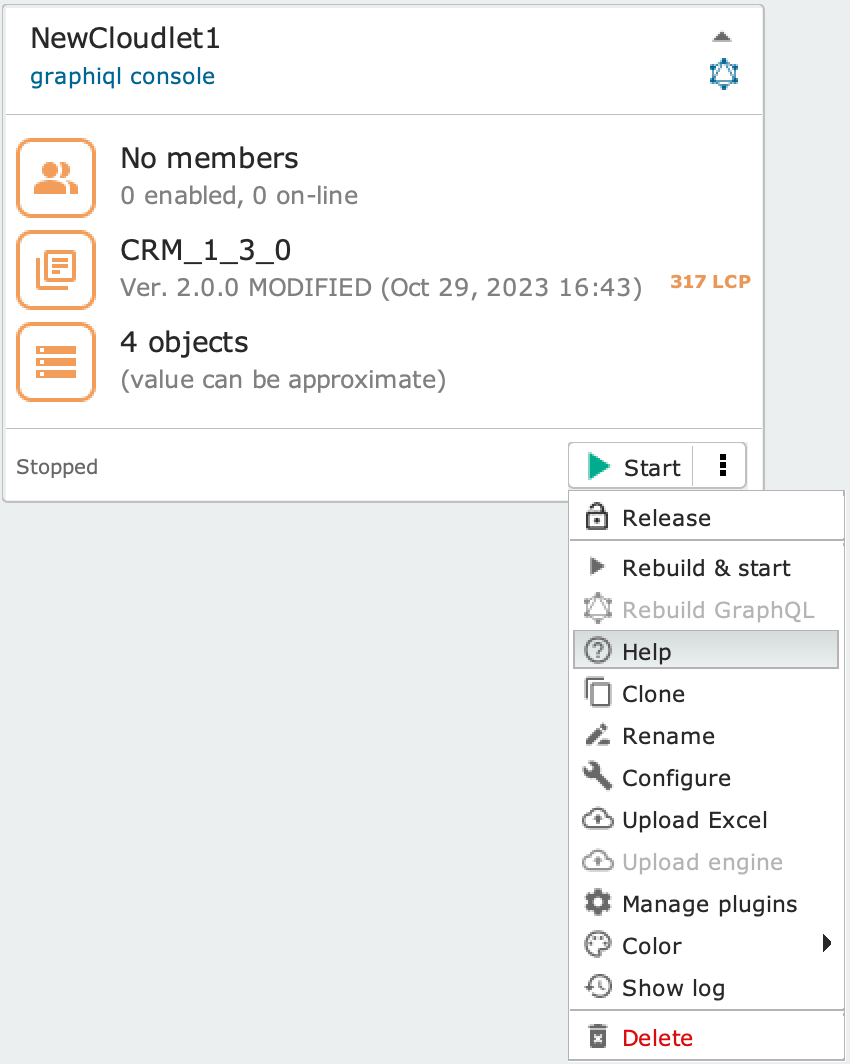
Click on the menu icon and select the Help option.
The Cloudlet panel will change appearance, showing ID, Builder version, and GraphQL version, as shown in the image beside.
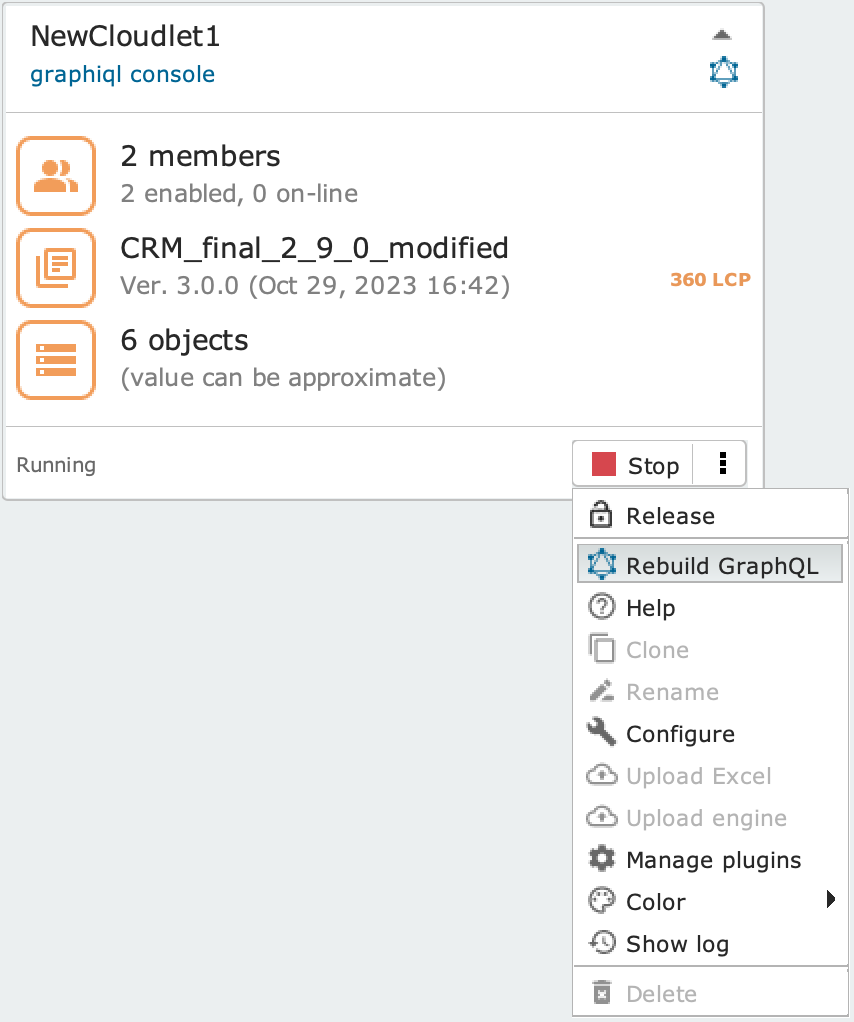
Rebuild GraphQL #
If the GraphqL engine has been modified but the engine and the Cloudlet database have remained unchanged, it is necessary to regenerate the APIs manually so that GraphQL calls return the correct results.
To do this, click on the menu icon and select the Rebuild GraphQL option.
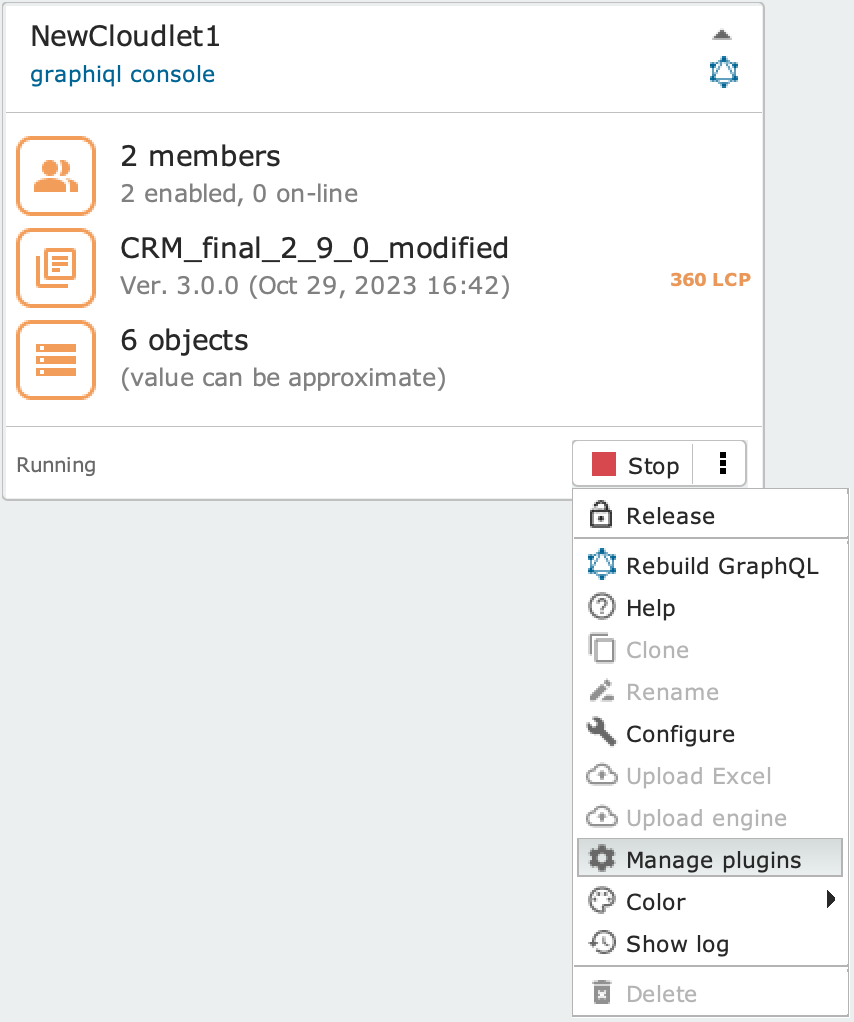
Manage Plugins #
Click on the menu icon and select the Manage plugins option to open the Plugins of cloudlet panel. For more information about how to properly manage plugins, see the dedicated section of the documentation.