In the previous lesson #
We made changes to our anagraphic application model, introducing calculated attributes, domain-constrained attributes, and additional class-level validations (Class warning). In Creating Your First Application, we also briefly looked at how to manually manage data in the application generated via the GraphQL API.
Working with real data #
Our model is still relatively simple (it only has one class and one application view), but it’s complex enough that we can momentarily pause modeling and “play” with the generated system. In this lesson and the next, we’ll explore some of the tools that the application offer to manage data.
We’ve already manually entered some employees from the GraphQL APIs; this practice is handy if we want to test the exposed interfaces, or if we want to verify that the application meets the modeled requirements (and make changes in a short time), but it doesn’t scale if we need to transfer hundreds of records stored elsewhere onto our system.
In reality, it is very likely that the person modeling a Livebase application already has data to transfer to the Cloudlet; this data, when not residing on other systems, is usually stored in spreadsheets. Conveniently, Livebase offers a tool, the Excel Importer, that can receive files containing spreadsheets, process their contents, and automatically import this information into the database. In this lesson, we will then use the Excel Importer to further populate our Employee class.
Use the Excel Importer to add records to Employee #
The Excel Importer allows you to import data from properly formatted Excel sheets onto the database of an application generated with Livebase. Given an Excel file, its contents are read and processed in a single operation that requires no further action, similar to starting a Cloudlet. Each spreadsheet is a table whose rows represent objects of a model class; the table in its entirety then expresses the addition of information (append) to a database generated from a model.
Format of Excel sheets, overview #
The Excel Importer accepts only files with .xlsx (Excel) extension; a file (workbook) can contain one or more worksheets. For a sheet, each row must respect the structure declared in the model: the type of attributes, the validation domains and all other expressible constraints must be respected. The same is true for the constraints on the roles of the class in the relations, a topic that we have not introduced yet.
Each worksheet must therefore contain a header line (header) showing the attribute names of the reference model class, each on a separate column. The order of the columns is not relevant. The sheet itself, moreover, must have as its name the name of the class to which the import refers.
Sheets can take three forms: flat sheet, reference sheet and relation sheet. The flat sheet is the simplest format and allows you to add objects with attributes only; the other two allow you to add objects with attributes and references to roles or associate objects between two classes. Relationships are a topic we are not interested in at the moment, since Employee is our only class. Therefore, for now, we use a flat sheet.
Review a flat sheet #
We have pre-filled a file containing 500 new employees that you can download by clicking the following button:
Before proceeding with the import, let’s have a look at the file by opening it in a compatible editor (MS Excel, LibreOffice Calc, etc…).
Il file Employees_append.xlsx
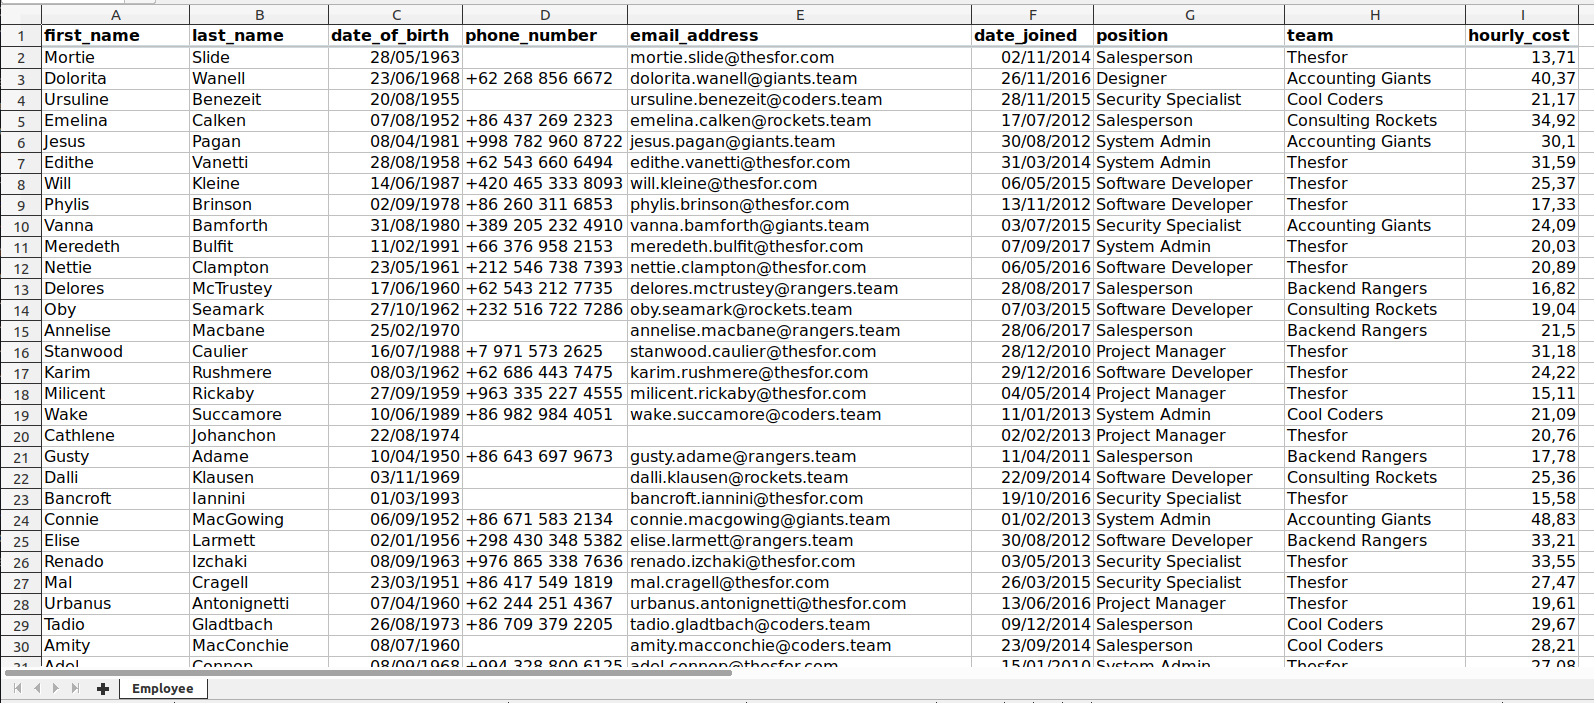
We can notice the following:
- there is a single sheet called
Employee; - in the header row are listed the names of all the attributes of Employee, (first_name, last_name, date_of_birth…), including the ones we added in the last lesson (position, team …);
- each row represents a new object that we will import into the class: the cells corresponding to each attribute/column will make the attribute take on that value;
- the content of the cells is consistent with the data type chosen for each attribute: we find dates for date_of_birth and date_joined, numbers for hourly_cost and strings for all the rest. More information about supported data types can be found in the guide.
We can also see that the records satisfy all the constraints we have imposed: first_name, last_name and date_of_birth are always valorized (constraint required) and there are no employees with the same first name, last name and date of birth (constraint unique on the key formed by the three attributes); finally, the stringent Class warning we have defined on the Application Schema are respected: no employee is less than 20 years old or has been hired at a future date. Some records may violate the minimum wage control, but since this is a non-stringent Class warning, this is not a problem.
Upload File #
Our file is well structured and valid. We can close it and proceed with the import: from the Dashboard, open the Cloudlet menu () of Workforce and select the Upload Excel item; from the window, select the file Employees_append.xlsx just downloaded.
Let’s look at the state of the Cloudlet: the Excel Importer parses and validates files against both the table structure in the Workforce database and the pre-existing data, looking for any unique key violations or other constraints.
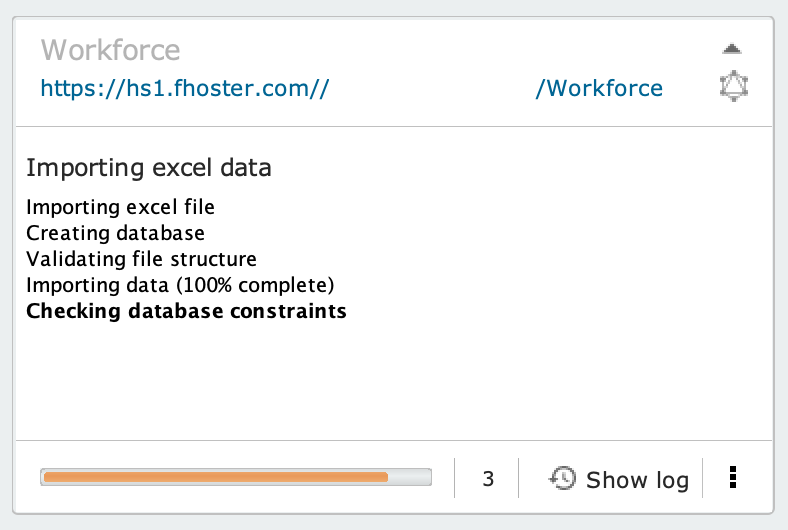
The Excel Importer is designed to process even very large files, on the order of half a million rows, in acceptable times. In our case, 500 rows is a small number, so the import will finish in a few seconds and without errors. At the end of the process, there will be 500 new objects in the database that will be added to the 5 previously inserted records.
In the next lesson… #
We will introduce relationships and use them to connect Employee to new classes in the model: Modeling with relationships.