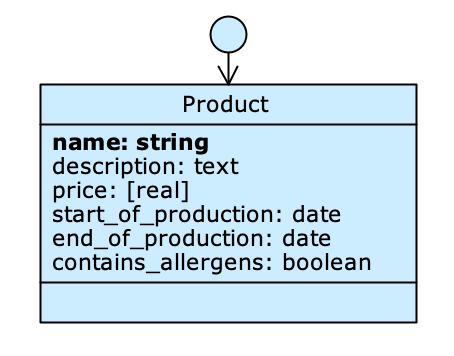
All the attributes of the Product class in the figure are native. The first one, name, is also the Object title.
Create a native attribute #
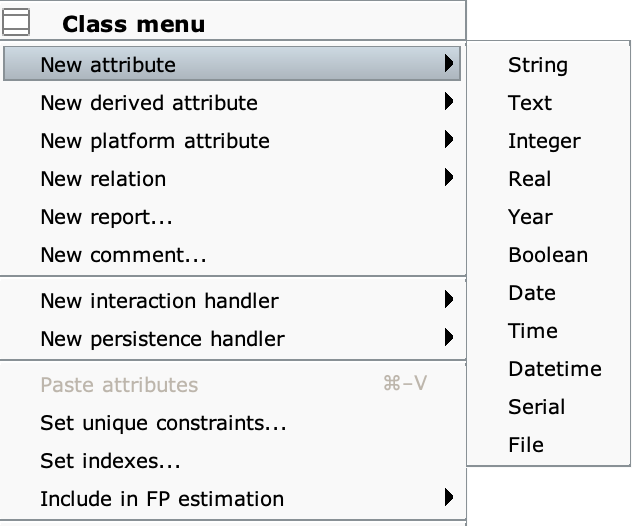
Right-click on a class to open its Class menu and select New attribute; choose the attribute type from the list based on the type of data you want to store.
Change the data type #
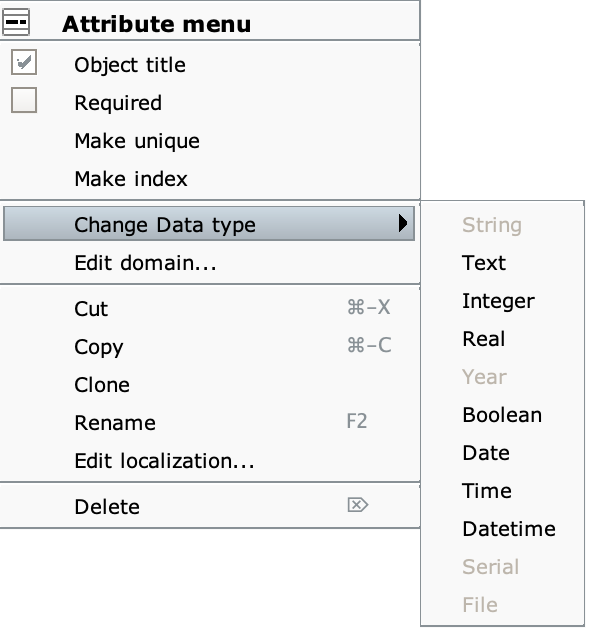
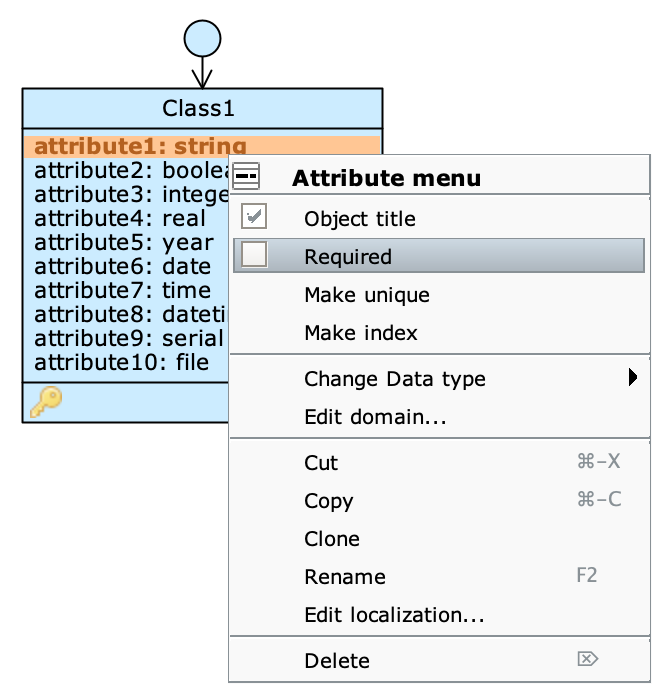
Right-click on a native attribute to open its Attribute menu and select Change Data type; choose the type of data you want to store through the attribute.
The Domain #
For each native attribute there is a set of values it can take. This set is called the domain of the attribute and depends on the type of data: for example, the domain of an integer attribute includes any non-decimal integer, but does not include alphabetic characters and symbols.
You can limit the values an attribute can take by restricting its domain. Within Livebase, this is done in the domain editor for the attribute data type. It is not possible to restrict the domain of attributes of type boolean or text.
When the domain of an attribute has been changed its data type appears in square brackets (like price: [real], in the example shown at the top of the page).
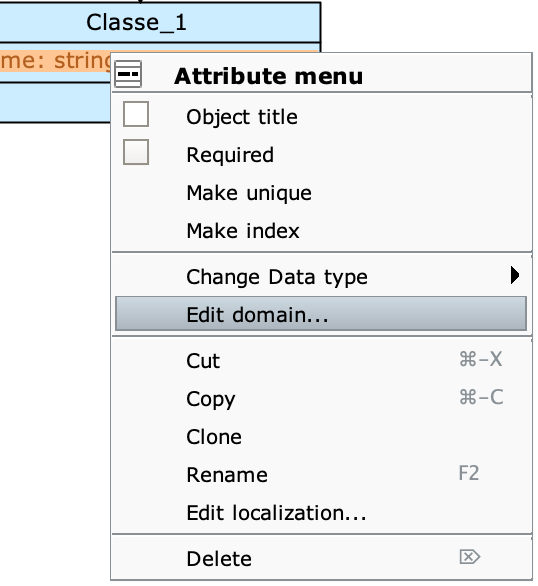
Restrict the domain of an attribute #
Right click on an attribute to open its Attribute menu and select Edit domain. Depending on the type of data the attribute refers to, a different editor will open; in each of them, you can verify the correct operation of the restriction by entering a test value in the Test value tab.
String domain editor #
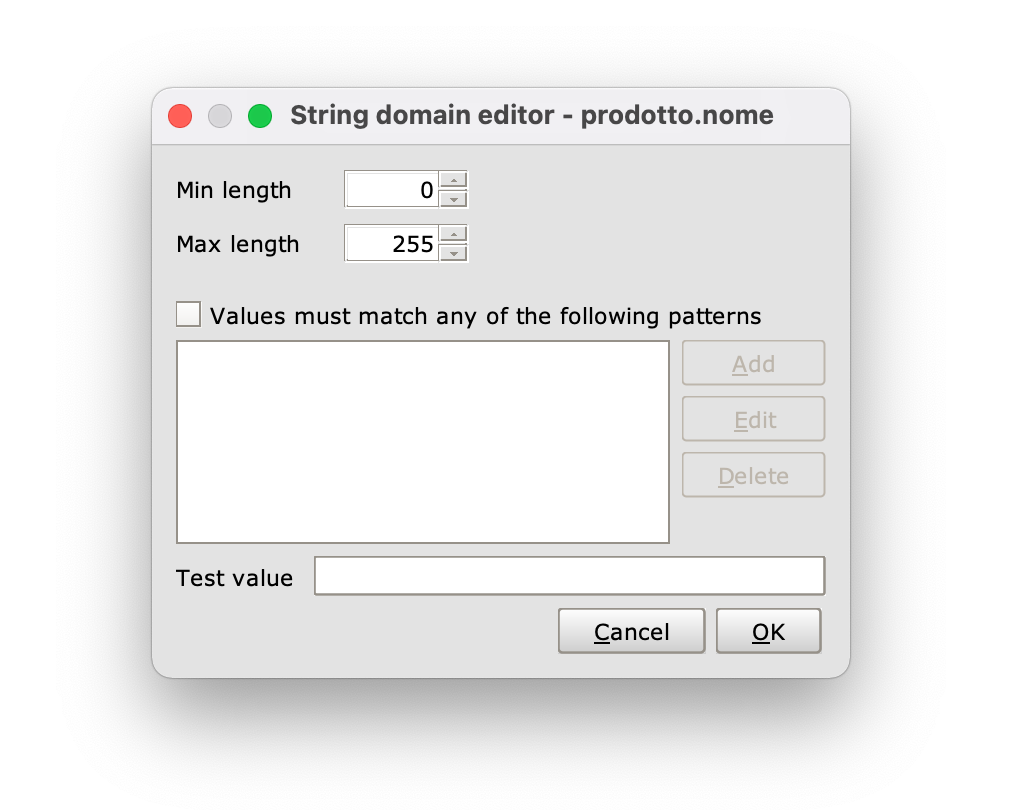
It allows you to set a minimum and maximum number of characters, and to define one or more patterns that the attributes must match in order to be considered valid; to use this last feature you must check the option values must match any of the following patterns and click Add to open the String pattern editor. The following patterns are available for verification:
- Constant: a unique value;
- Set of constants: a list of accepted values; the list must contain a value for each line;
- Simple pattern: a pattern in which it is possible to specify which characters start (
start with) and end (end with) the acceptable values; it is also possible to define which characters must be contained within the acceptable values (contain); - Regular expression: a regular expression (more information [here](<https://en.wikipedia.org/wiki/Regular_expression >)).
You can add any number of accepted patterns. Checking is done in logical OR, so all strings that match at least one of the patterns defined in the editor are considered valid.
The Match case option allows you to differentiate between uppercase and lowercase letters.
File domain editor #
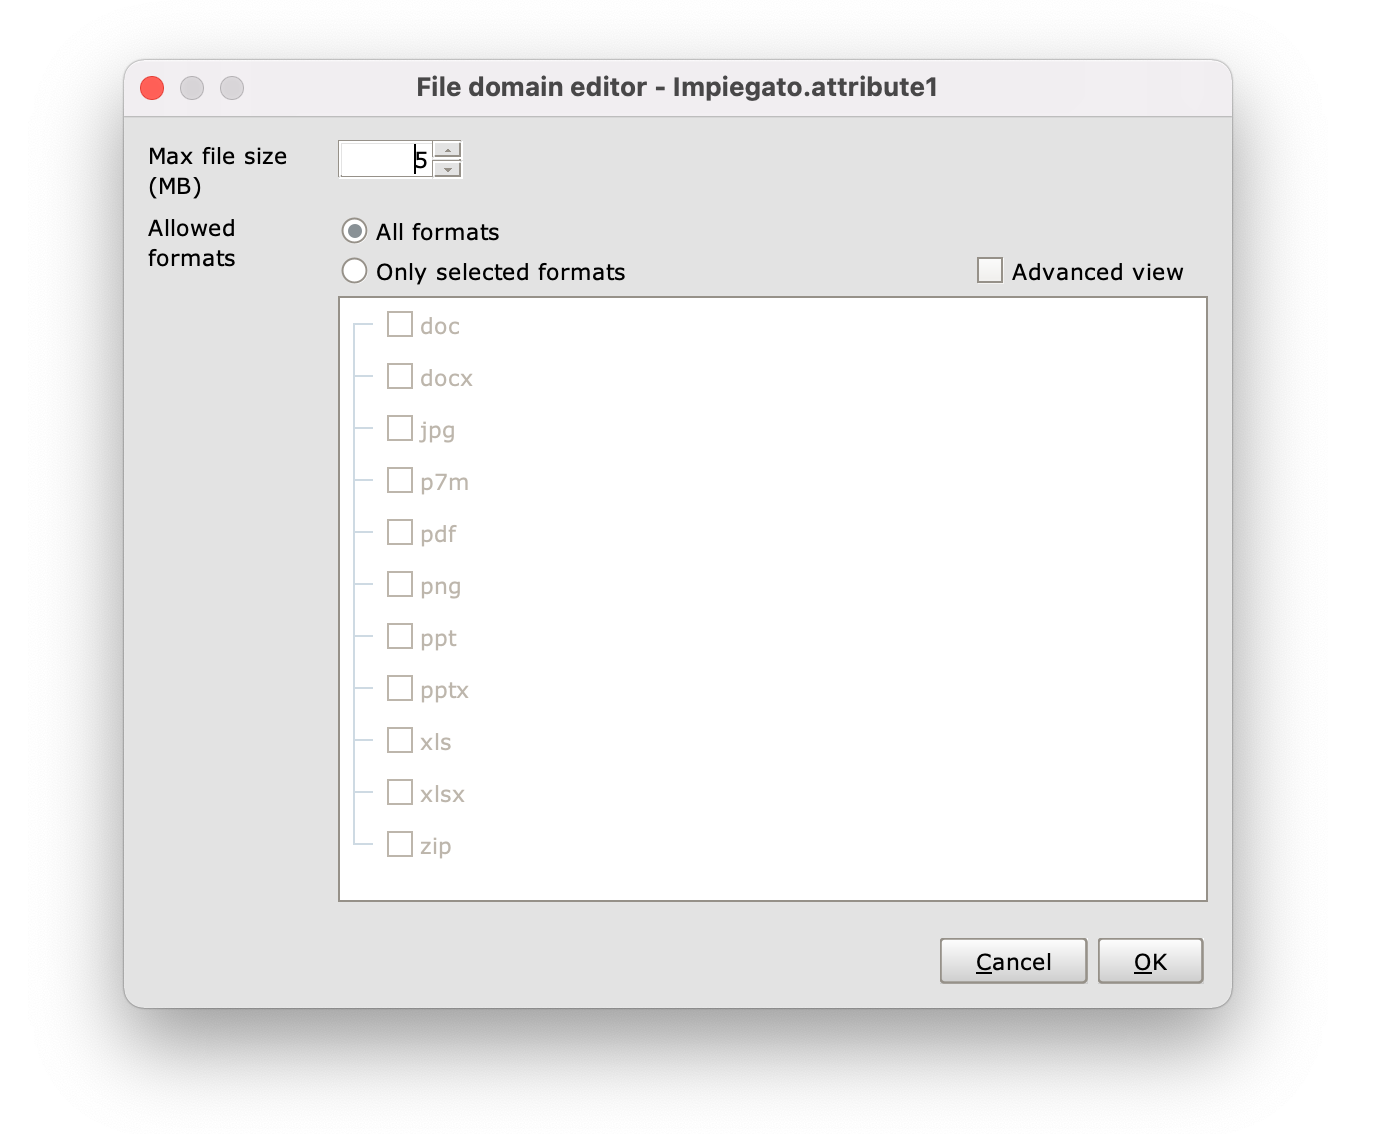
Allows you to define the maximum file size in MB and the accepted formats (selectable through checkboxes).
The Advanced view option groups formats by file type; selecting one of them through the checkbox will accept all formats of that type (e.g. all audio formats).
Domain editor for numeric data types and dates #
Attributes that have Integer, Real, Year, Date, Time, DateTime and Serial as data types share very similar domain editors. In the image below only the Integer domain editor is shown, but the operation is similar for the editors of the other data types.
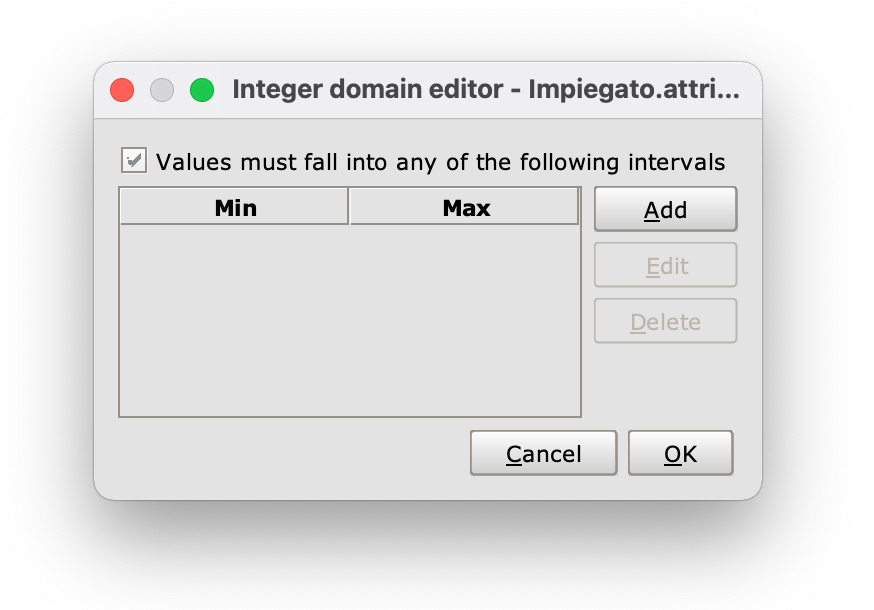
By checking the values must match any of the following patterns option and pressing the Add key, these editors allow you to define one or more ranges in which the acceptable values for the selected attribute must be included.
Any number of ranges can be added. The check is carried out in logical OR, so all values in at least one range are considered valid.
Integrity constraints #
If you want to prevent the storage of null values (i.e. not specified) for an attribute, it is necessary to impose on it an integrity constraint that makes it mandatory to define the value when creating/modifying an object of a class. The attribute in question will be set as required, it will be highlighted in blue and an exclamation mark will appear next to it.
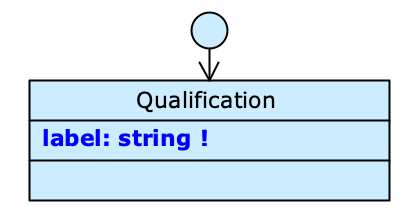
An attribute with an integrity constraint
Define an integrity constraint on an attribute #
Select the attribute and right-click to open the Attribute menu; from the drop-down menu check the Required option.
Unique constraints (keys) #
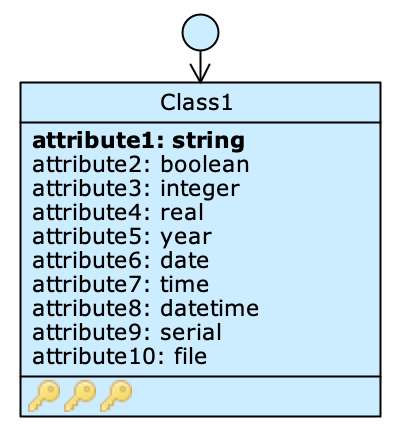
It is possible to prevent the storage of objects that have the same value for a given attribute or combination of attributes. This is done by defining a unique constraint, or key. When a unique constraint is present in a class, the icon () appears at the bottom left of the frame. If there is more than one key for the same class, as many icons appear as there are declared keys; clicking on each icon () highlights the attribute (or attributes) on which the constraint is defined.
When a key is defined over a set of attributes, the restriction is only active if the values of all attributes that make up the key match between objects of the same class. This does not prevent two objects from having the same value for some of the attributes involved in the constraint.
Define a unique constraint #
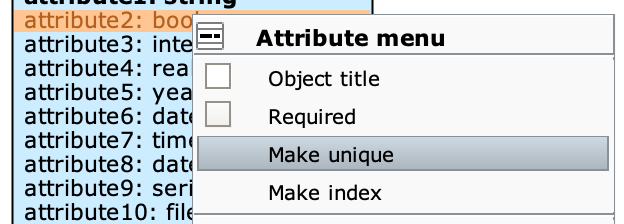
Select the attribute and right-click to open the Attribute menu; from the drop-down menu choose the Make unique option.
To define a key on more than one attribute, hold down the Ctrl key while selecting the necessary attributes at the same time; right-click on one of them and select Make unique from the Attribute menu. After this, an icon () will appear at the bottom of the class to indicate that a unique constraint has been imposed on the class; clicking on it highlights all the attributes involved in the constraint.
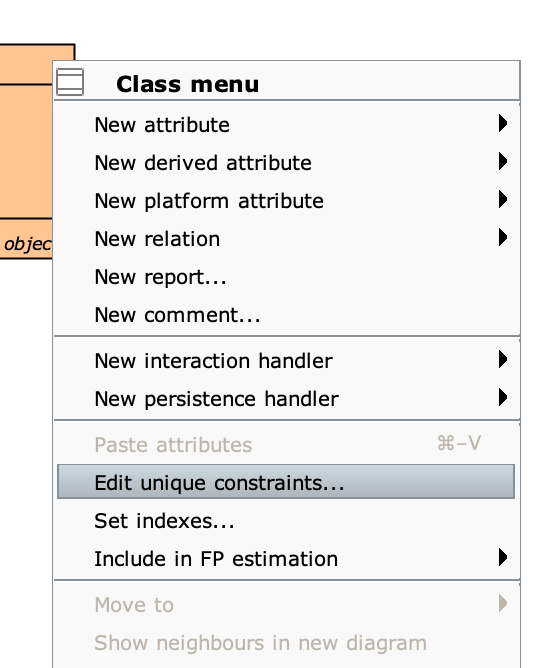
Alternatively, right click on the class header and select Set unique constraints... from the Class menu. From the panel that opens, click Add; check the attributes you want to include in the constraint and click OK to make it appear in the constraint list.
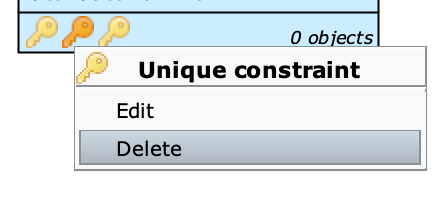
Modify a unique constraint #
Click on the icon () at the bottom right of the class pane to see which attribute it refers to. Right click on the icon to open the Unique constraint menu, select the Edit option and select from the Class unique constraint editor the attributes you want to include in the constraint.
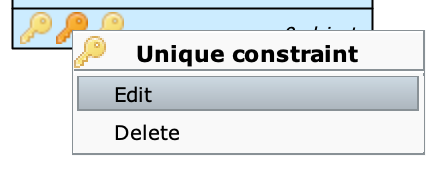
Remove a unique constraint #
Click on the icon () at the bottom right of the class pane to see which attribute it refers to. Right click on the icon to open the Unique constraint menu, select the Delete option.