The objects (or instances) of the class share the same structure, behavior and relationships. Each class has a unique name and a list of attributes. Each object in a class may have a different value for each of these attributes.
Representation #
In the Designer, classes appear as a light blue box consisting of three sections:
The first section shows a unique name that identifies the class. Immediately above, the circle and arrow pointing to the class represent the Class role default of the class.
The second section lists the attributes of the class;
The third section lists additional information, such as the number of objects currently in the database. This information is only available if we are viewing an engine installed on a Cloudlet. It is not possible to add, remove or modify objects belonging to a class directly from the Designer.
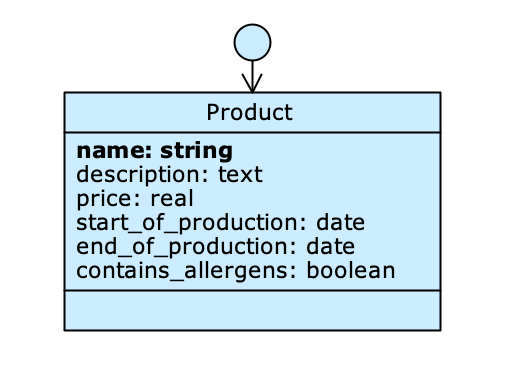
In the example shown in the figure you can see a class representing the products of a company (Product). The attribute list determines what information is stored for this particular class of objects (in this case the name, description, unit price, etc.).
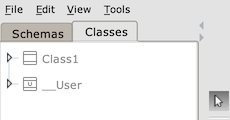
In the tab Classes are reported all the classes present in the engine model; from here the classes can be selected, renamed and deleted.
The Object title #
The Object title is the name by which the object of a class being examined in the application is identified; this name is represented by the value of a single attribute. When an attribute is defined as Object title it appears in bold. Each class must have one and only one Object title.
In the example shown above, the Object title is the attribute name: string.
Using Classes #
Classes are one of the fundamental constructs of Livebase, and most of the operations you can perform in the Designer have to do with them. This section collects only the basic actions involved in creating, editing and deleting classes in the Schema Database.
Create a class #
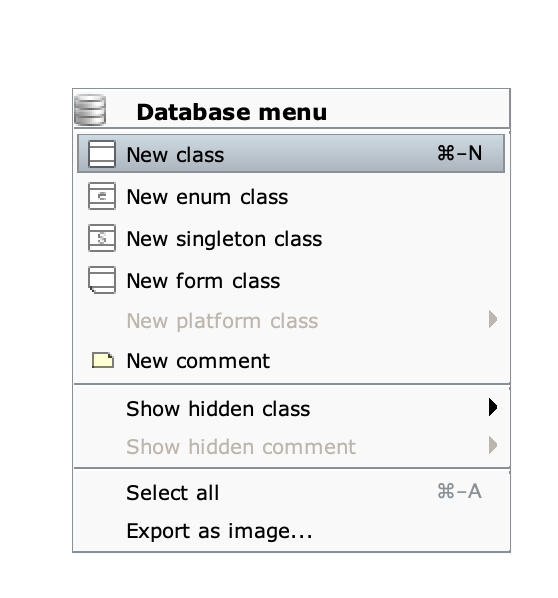
Right-click on a free spot in the workspace (Canvas) to open the Database Menu; from the drop-down menu choose New Class.
Alternatively, click on the icon Create a new class in the Palette, and then click on a blank space inside the canvas.
The class thus created can be immediately renamed by typing a name and pressing Enter.
Rename a class #
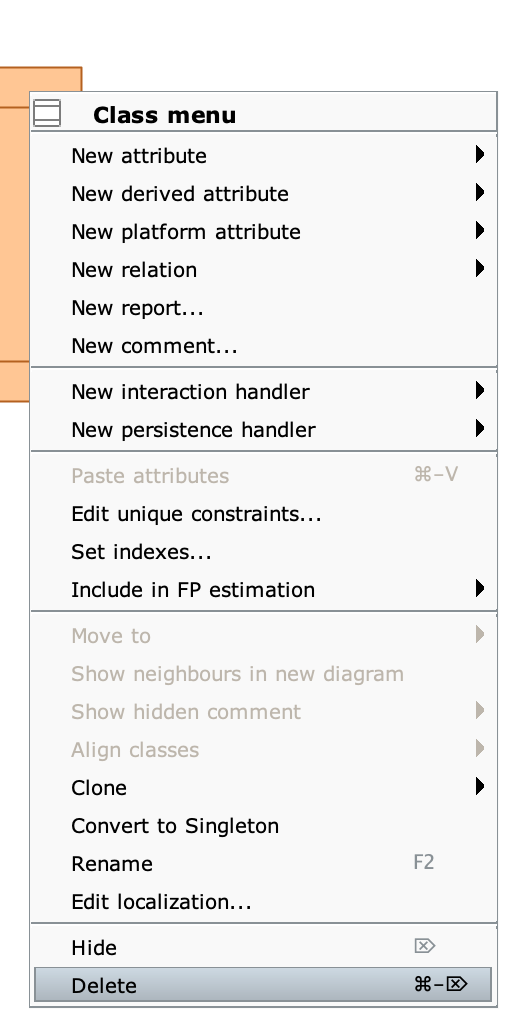
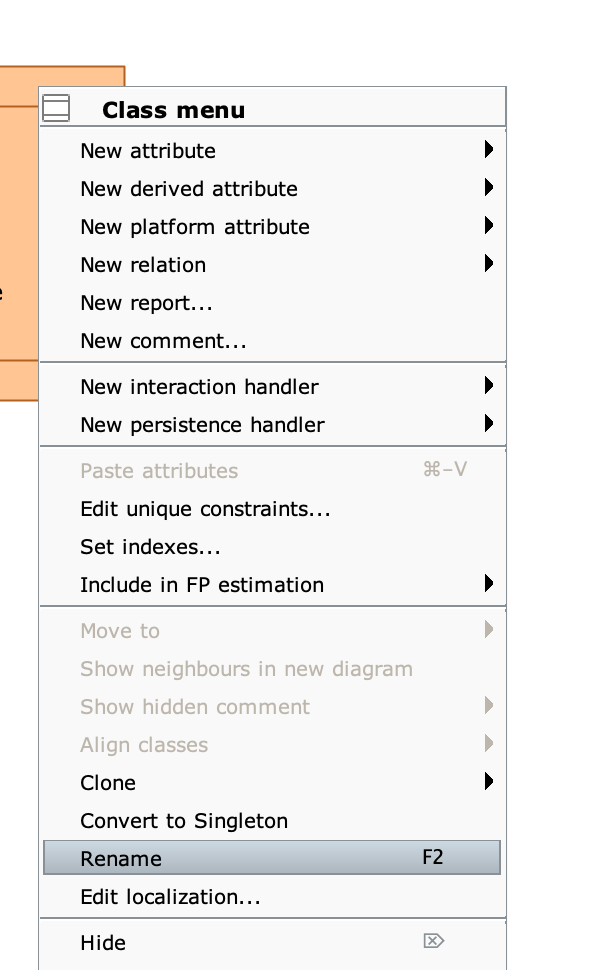
Select the class you want to rename in the Designer and right-click to open its Class menu; select the Rename command or press F2.
Alternatively, select the class from the Classes tab and right click; select the Rename option.
Delete a class #
Select the class you want to delete in the Designer and right-click to open its Class menu; select the Delete command or press Delete.
Alternatively, select the class from the Classes tab and right click; select the Delete option.
