The settings defined in the Settings tab of the Profile Schema determine which application views are available, depending on the type of user.
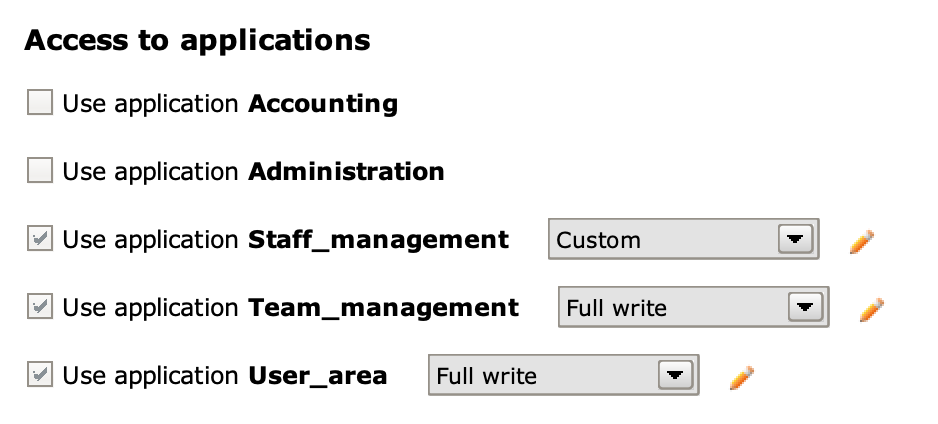
To assign an application to a profile, simply check the corresponding checkbox in the Access to Applications sub-section. By doing so, the accessible data is partitioned according to the profile, and users can see only the elements of the engine model that pertain to them.

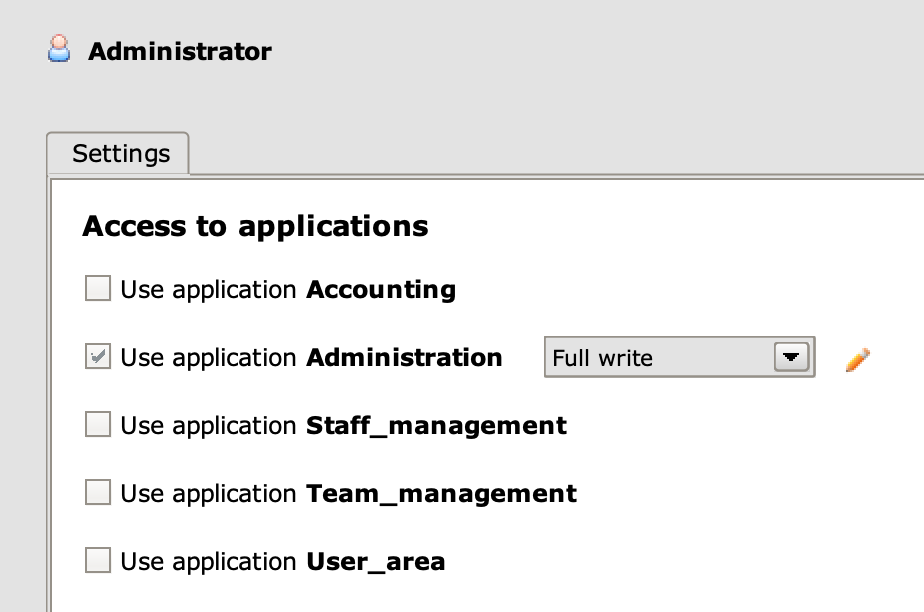
Application assignment for profile Administrator
The example shown in the figure shows the settings for the Administrator profile: among the five available applications (Accounting, Administration, Staff_management, Team_management and User_area), we decided to enable only the Administration view for this profile.
Assign an application to a profile #
Click on the desired profile to open the Settings tab of its Profile Schema ; in the Access to Applications section, check the checkboxes of the applications you want to enable for that profile.

Access to new applications #
When a new application view is created, all existing profiles get access to it; this happens because each application must have at least one profile that can access it.

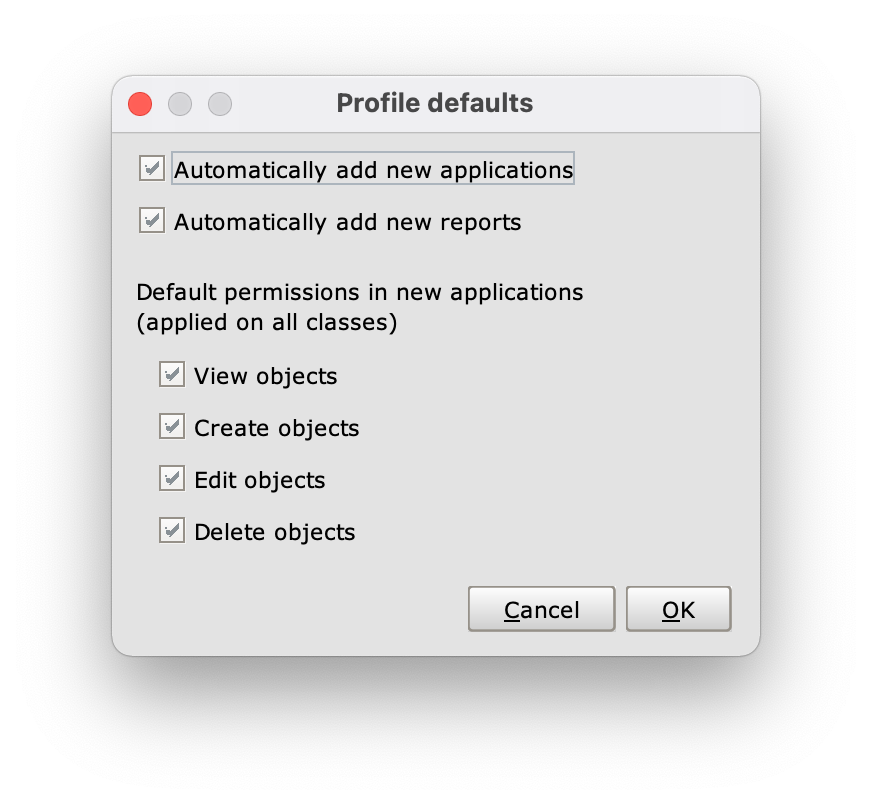
the Profile defaults panel
To ensure that this does not happen automatically, you need to uncheck the Automatically add new applications option in the Profile defaults panel (accessible by right-clicking on the profile and opening its Profile menu).
Access to reports #
From the Settings tab it is also possible to assign one or more reports to a profile, by checking the corresponding checkboxes in the Access to reports section (exactly as it happens with application views); this section of the panel is present only if at least one report has already been created.
The option Automatically add new reports automatically assigns every new _report created to the selected profile. To ensure that this does not happen automatically, uncheck this option in the Profile defaults panel.
