The attached ZIP contains a sample engine model and other files you will need to complete the application; download it and unzip it by clicking this button:
Creating the Cloudlet #
First, create a new Cloudlet from the Dashboard by clicking the New Cloudlet button at the bottom right of the Cloudlets tab.
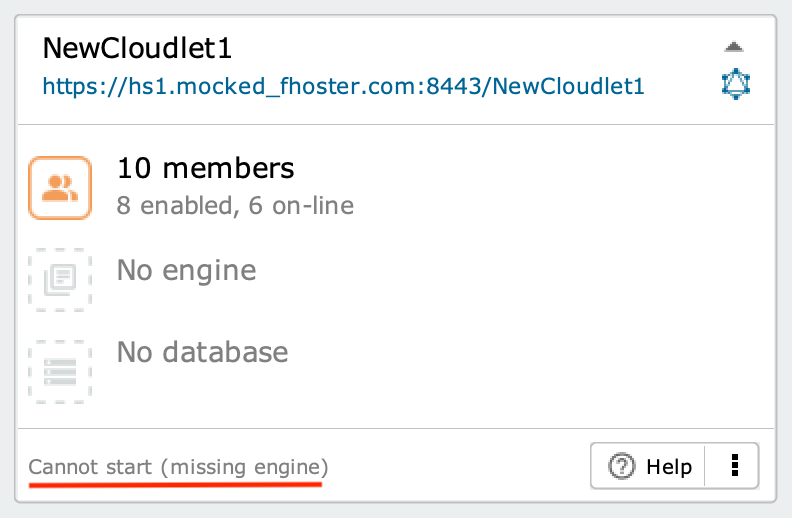
at the top, there is a name (in this case, Livebase has assigned the default name
NewCloudlet1) and a URL address; the latter depends on the hosting server where the Cloudlet has been deployed, your username, and the name of the Cloudlet;in the middle there are three icons: list of members, engine and database;
a message at the bottom indicates the status of the Cloudlet: at the moment, it is
Cannot start (missing engine); we cannot start the Cloudlet because we have not yet installed a engine on it.
Starting Cloudlet #
Before you can create a database, you need to install an engine model (or engine) on the Cloudlet.
The engine model used as an example for our application (model.xml) can be found inside the ZIP file you downloaded and is a classic to-do list: two pages have been created in the Client, one for login and the other for viewing, searching and editing the to-do.
To install the engine model, drag the model.xml file on top of the Cloudlet and drop it when it appears yellow.
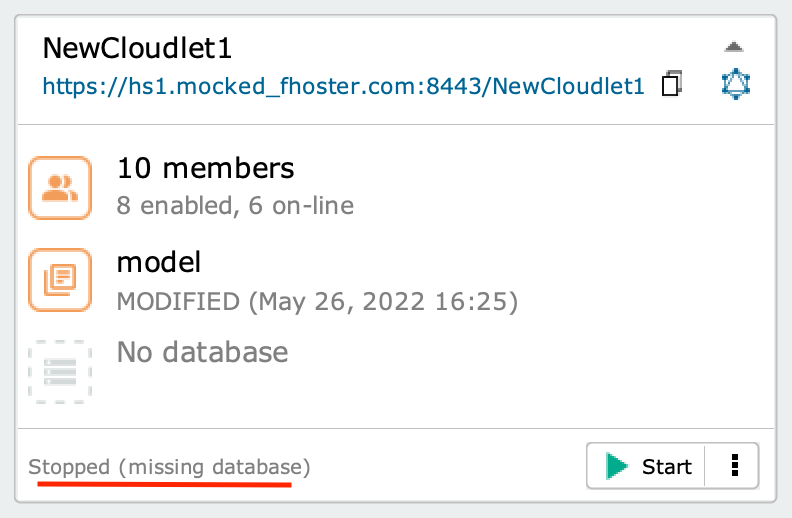
The Cloudlet after installing the engine
Without a database, you still cannot start Cloudlet: at the bottom, the message has changed to Stopped (missing database). To create a new database, click on the corresponding icon inside the box.
Now you can start the Cloudlet by clicking on the Start button.
Wait a few seconds while Livebase translates the engine into source code, generates the corresponding application and starts it on the server. At the end of the process, the Cloudlet switches to Running state, while the Start button is replaced by Stop.
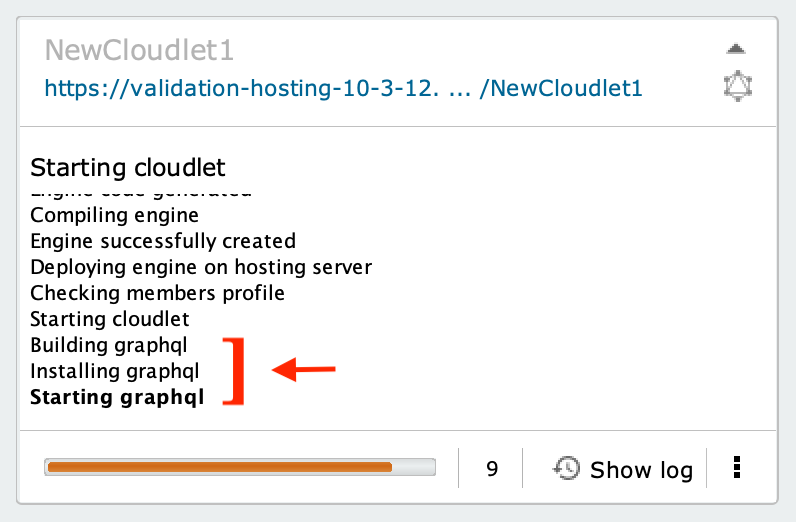
The Cloudlet as it is being started; note how during the generation of the application the GraphQLs are also installed.
Install the necessary dependencies and libraries. #
To run the application, make sure you have the following dependencies installed:
- Node.js ≥ v16.13.1 (latest LTS version available)
- Npm ≥ v7.6.3
More information
After that, you need to install the libraries contained in the ZIP you downloaded:
- go to the directory
$REPO/vue-todo-list/; - run the command
npm ifrom the terminal.
Modify the endpoint of the GraphQL call #
The last step is to edit the .env file inside the /todo-master/vue-todo-list folder; you can open it with any text editor. Inside the file, you will find a string starting with VUE_APP_URL=, followed by an URL:
VUE_APP_URL=https://<Hosting_server>/<User_name>/todo-list/auth/api/graphql/Application
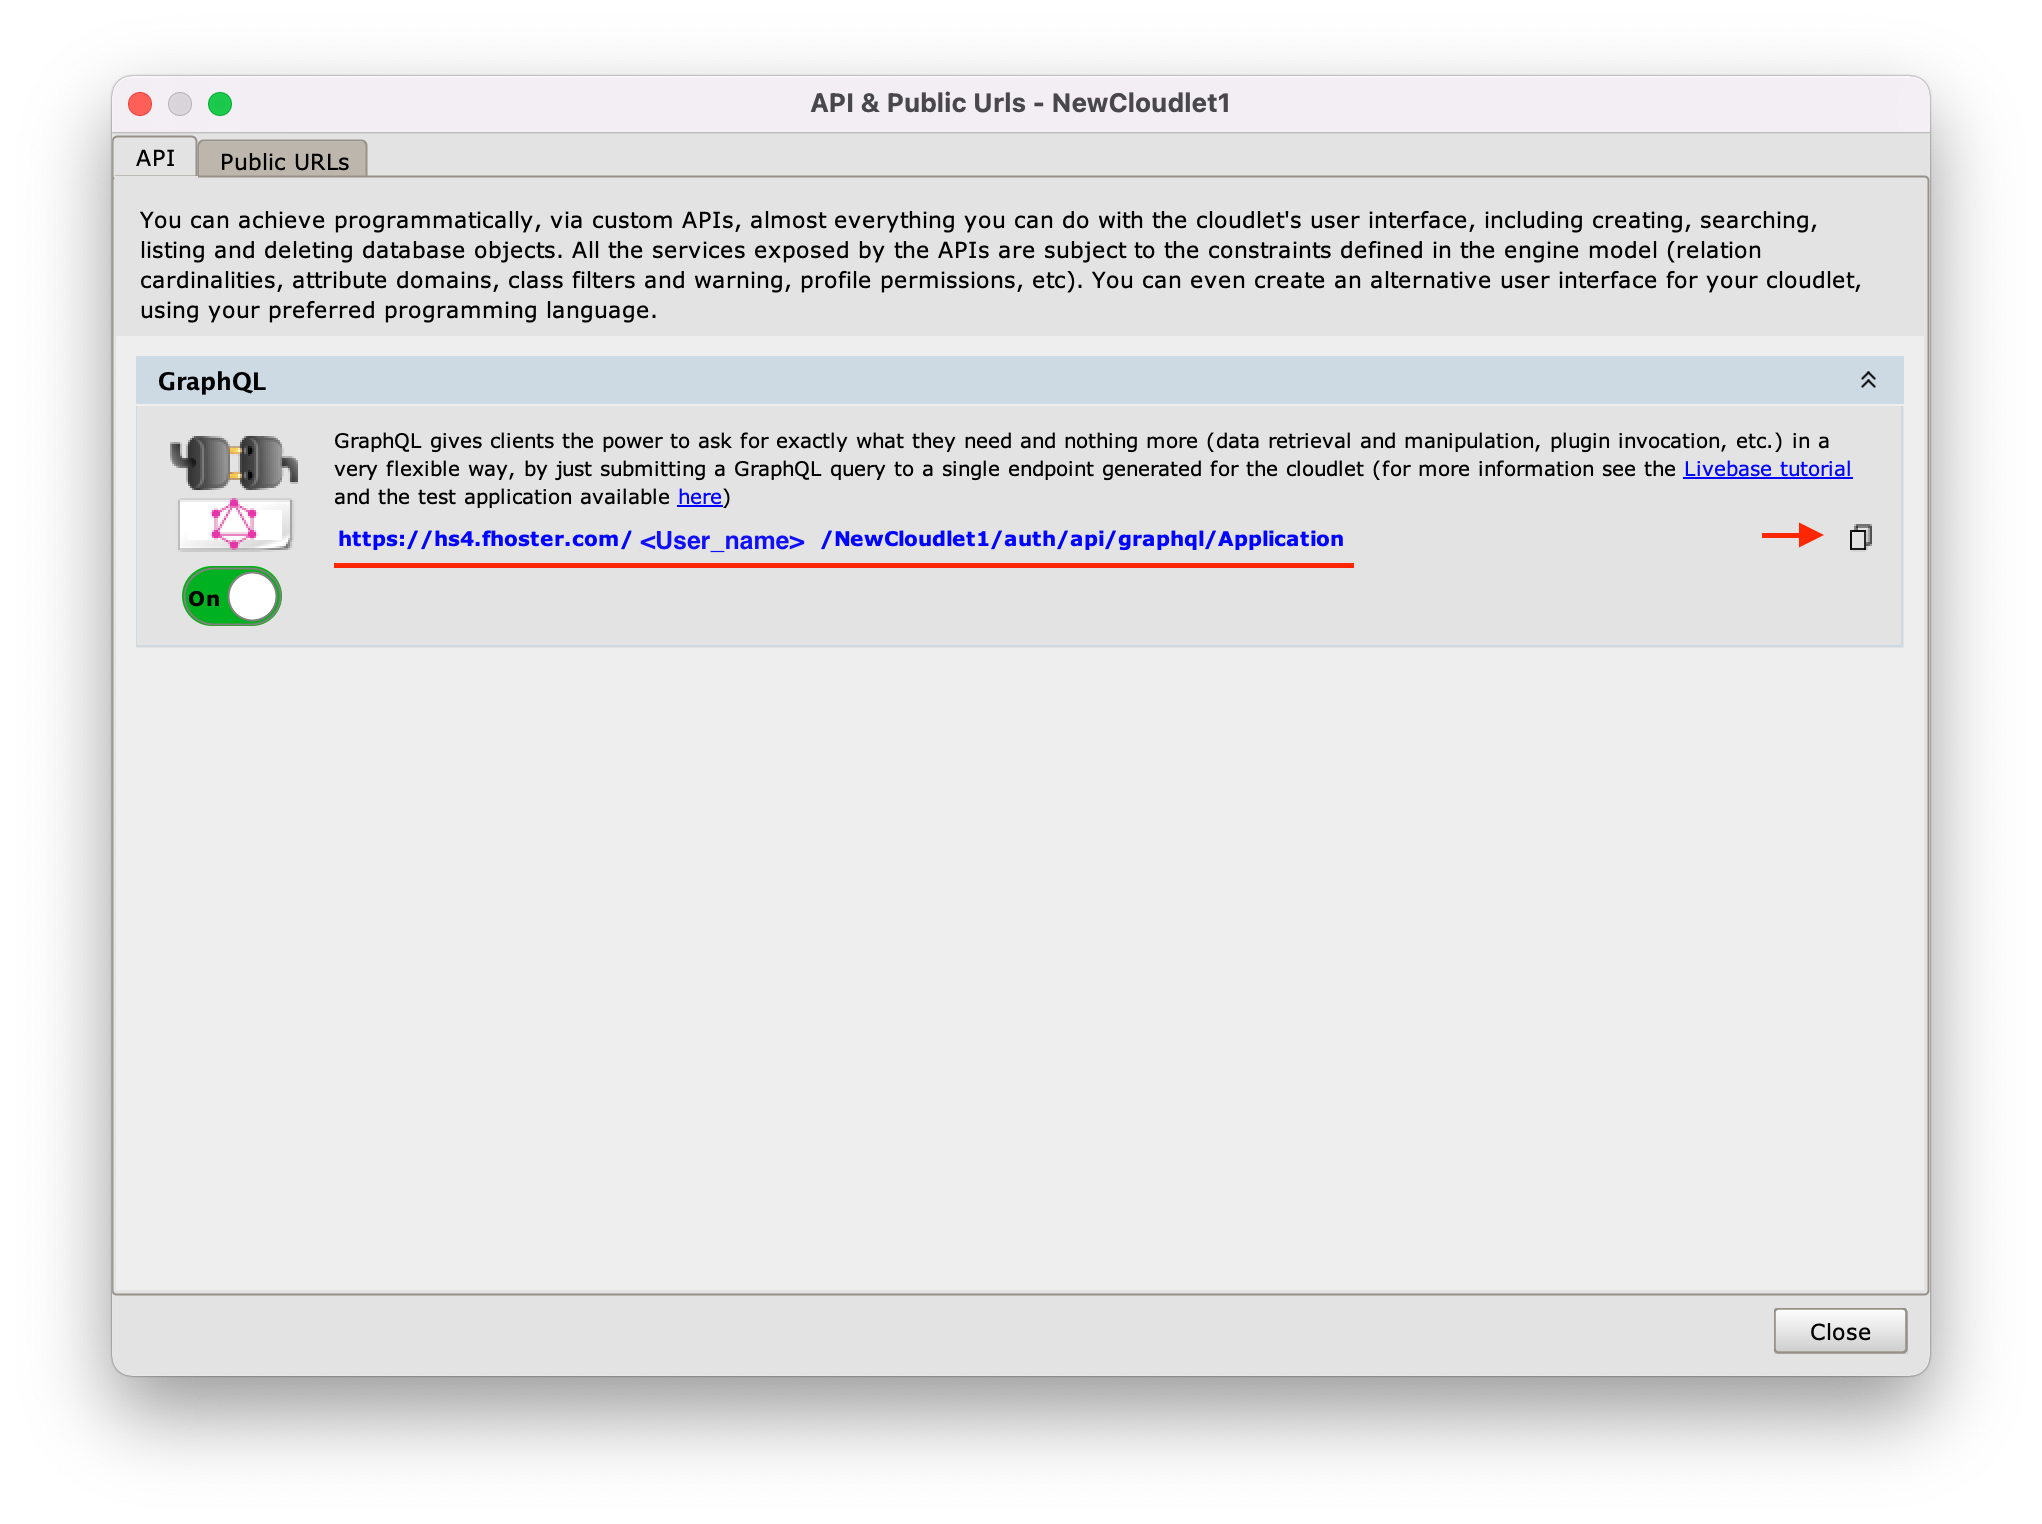
Go to the Api panel, where you previously enabled GraphQLs on the Cloudlet, and copy the blue colored link:
- place your cursor over the link without clicking;
- click on the icon that appears to the right of the link; this will display the message
URL copied to clipboard.
Now replace the URL in the .env file with the one you have just copied, making sure to keep the first portion of the string unchanged (VUE_APP_URL=).
Use the application #
If you have followed the steps listed so far correctly, you can finally verify the operation of the application we have created: start a local server by typing in the terminal the command npm run serve and press enter. After a few seconds, the generated application will be available at the following address:
`http://localhost:8080/home`
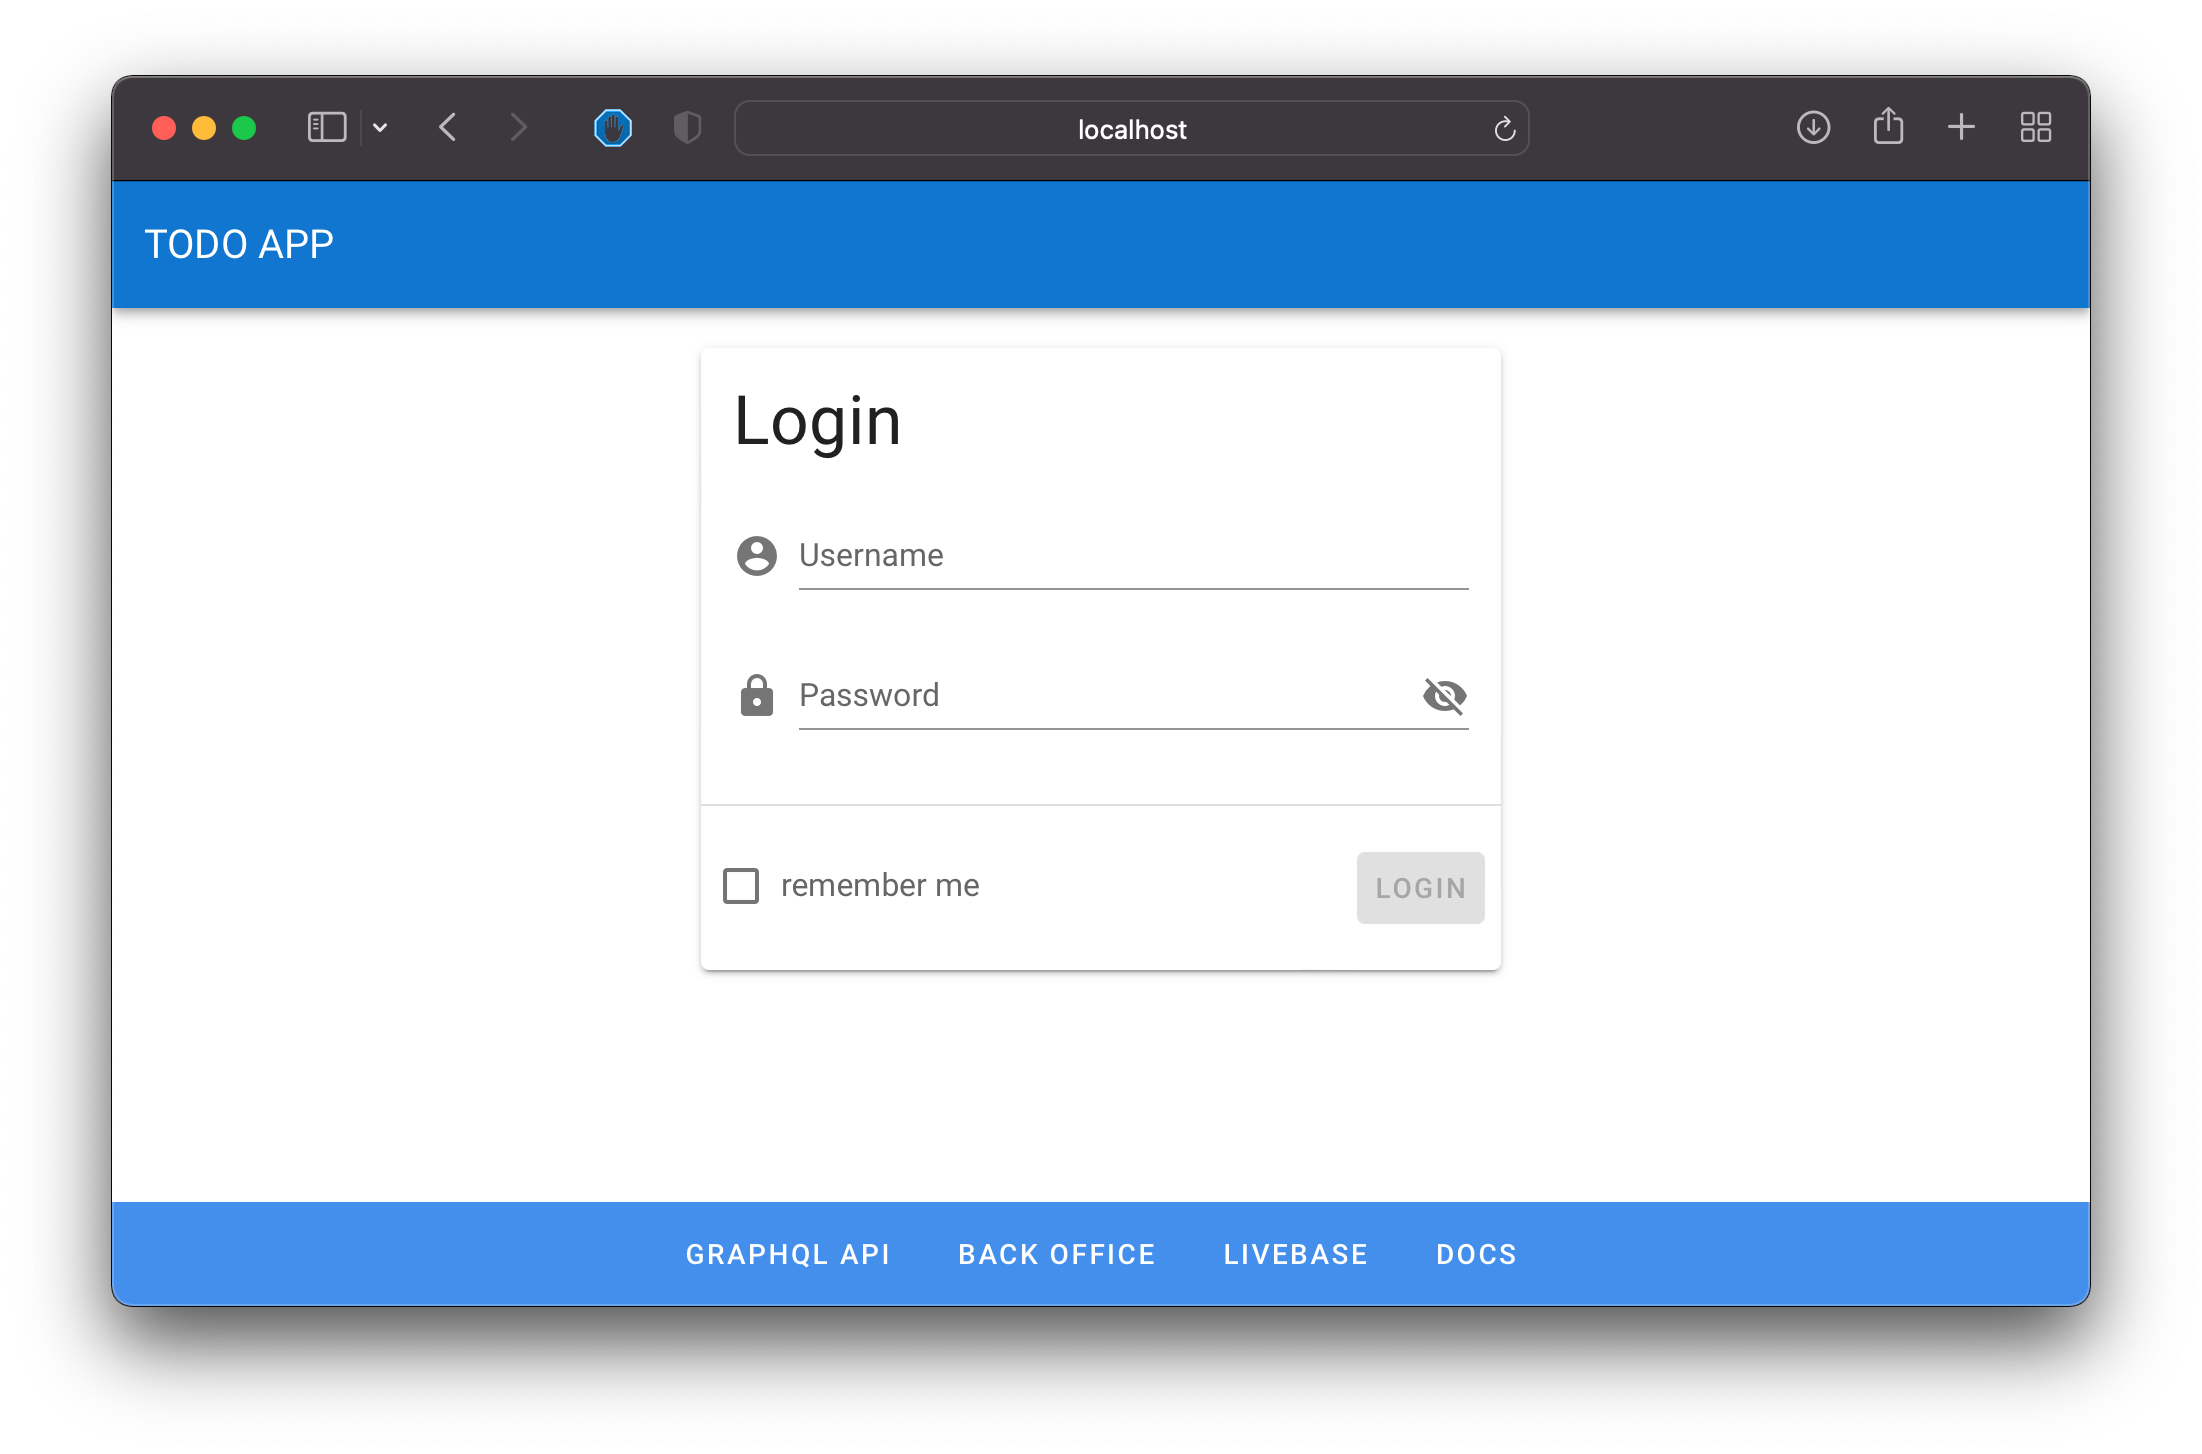
Once the application is started, the login page to access the Client will appear in the browser.
Once the server is started, any changes made to the code are immediately reflected in the application. Now you can have fun changing some parameters and checking the generated Client’s effects in real-time.

The page for viewing, searching and editing the to-do within the generated Client.